User Guide & Documentation
Field3Dnotes is a web-based tool designed for 3D geological mapping, structural analysis, and field data acquisition.
Getting Started
🌐 Option 1: Web Viewer
You can run Field3Dnotes directly in your browser without downloading or installing any software.
- Simply click the Web Viewer button on the home page to launch the application online immediately.
💾 Option 2: Standalone HTML App
If you need to use Field3Dnotes offline in the field without an internet connection, you can download the standalone version from GitHub:
- Click the Standalone HTML App button on the home page to open the GitHub repository.
- In GitHub, click the green
<> Codebutton located near the top right of the file list. - Select Download ZIP from the dropdown menu.
- Unzip the downloaded file on your computer or device.
- Open the extracted folder and double-click
index.htmlto launch the application in your web browser locally.
📱 Option 3: iPad & iPhone App
Use the application directly on iOS devices to leverage touch gestures and device hardware sensors for real-time measurements in the field.
Interface & Controls
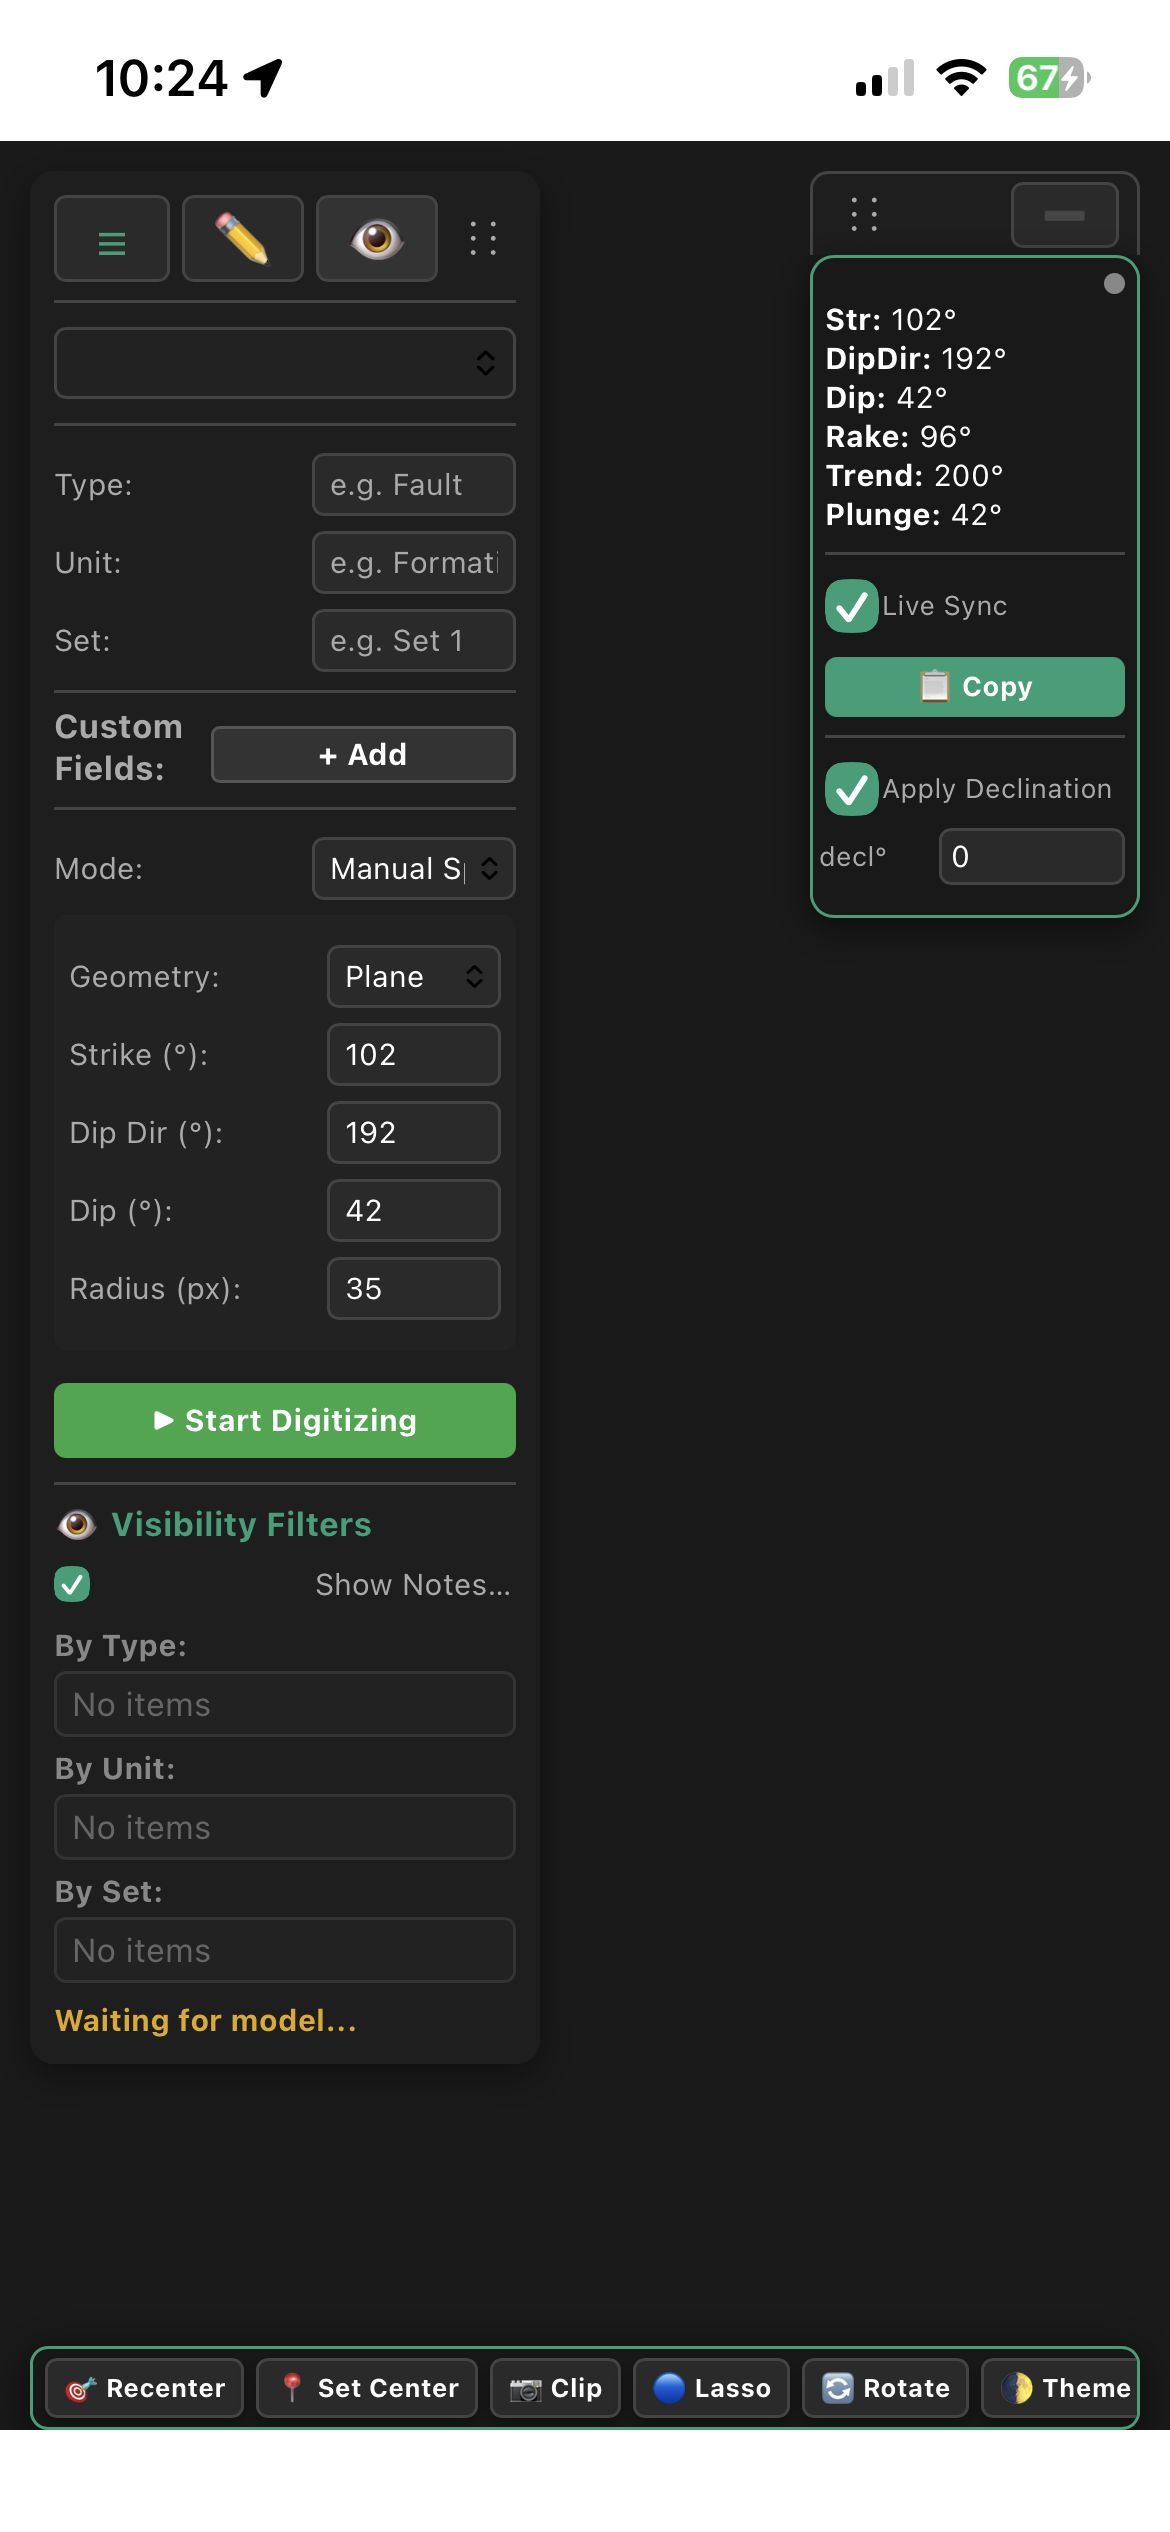
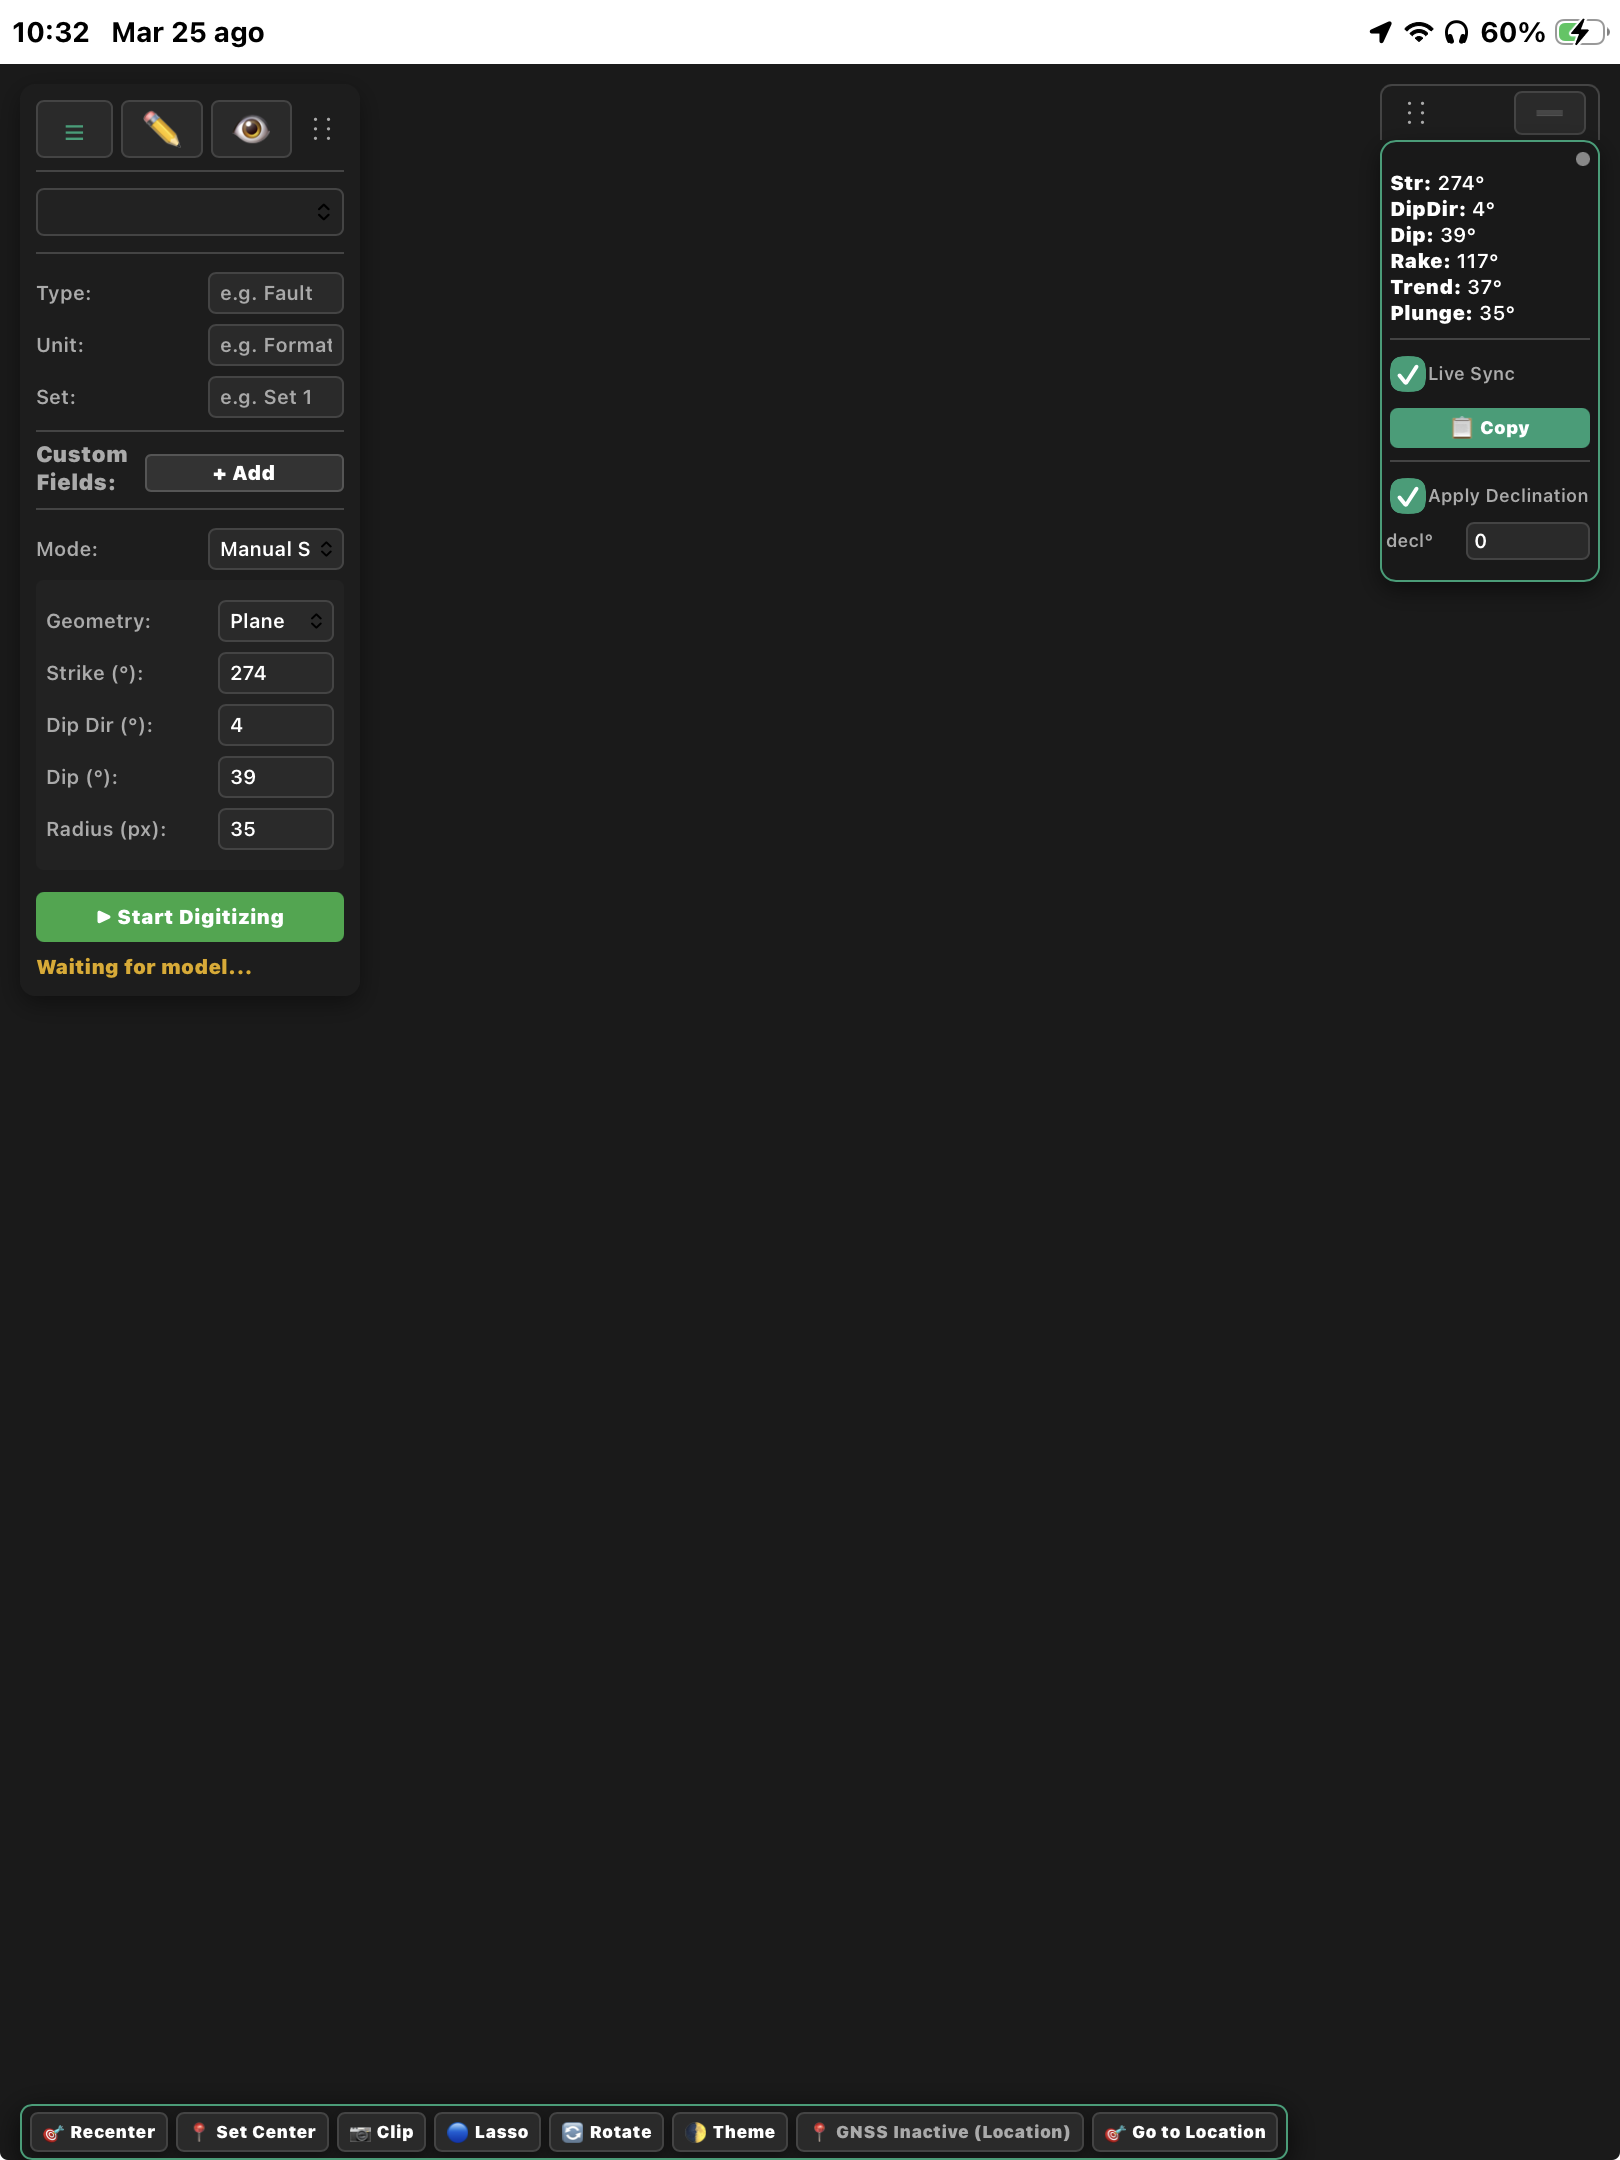
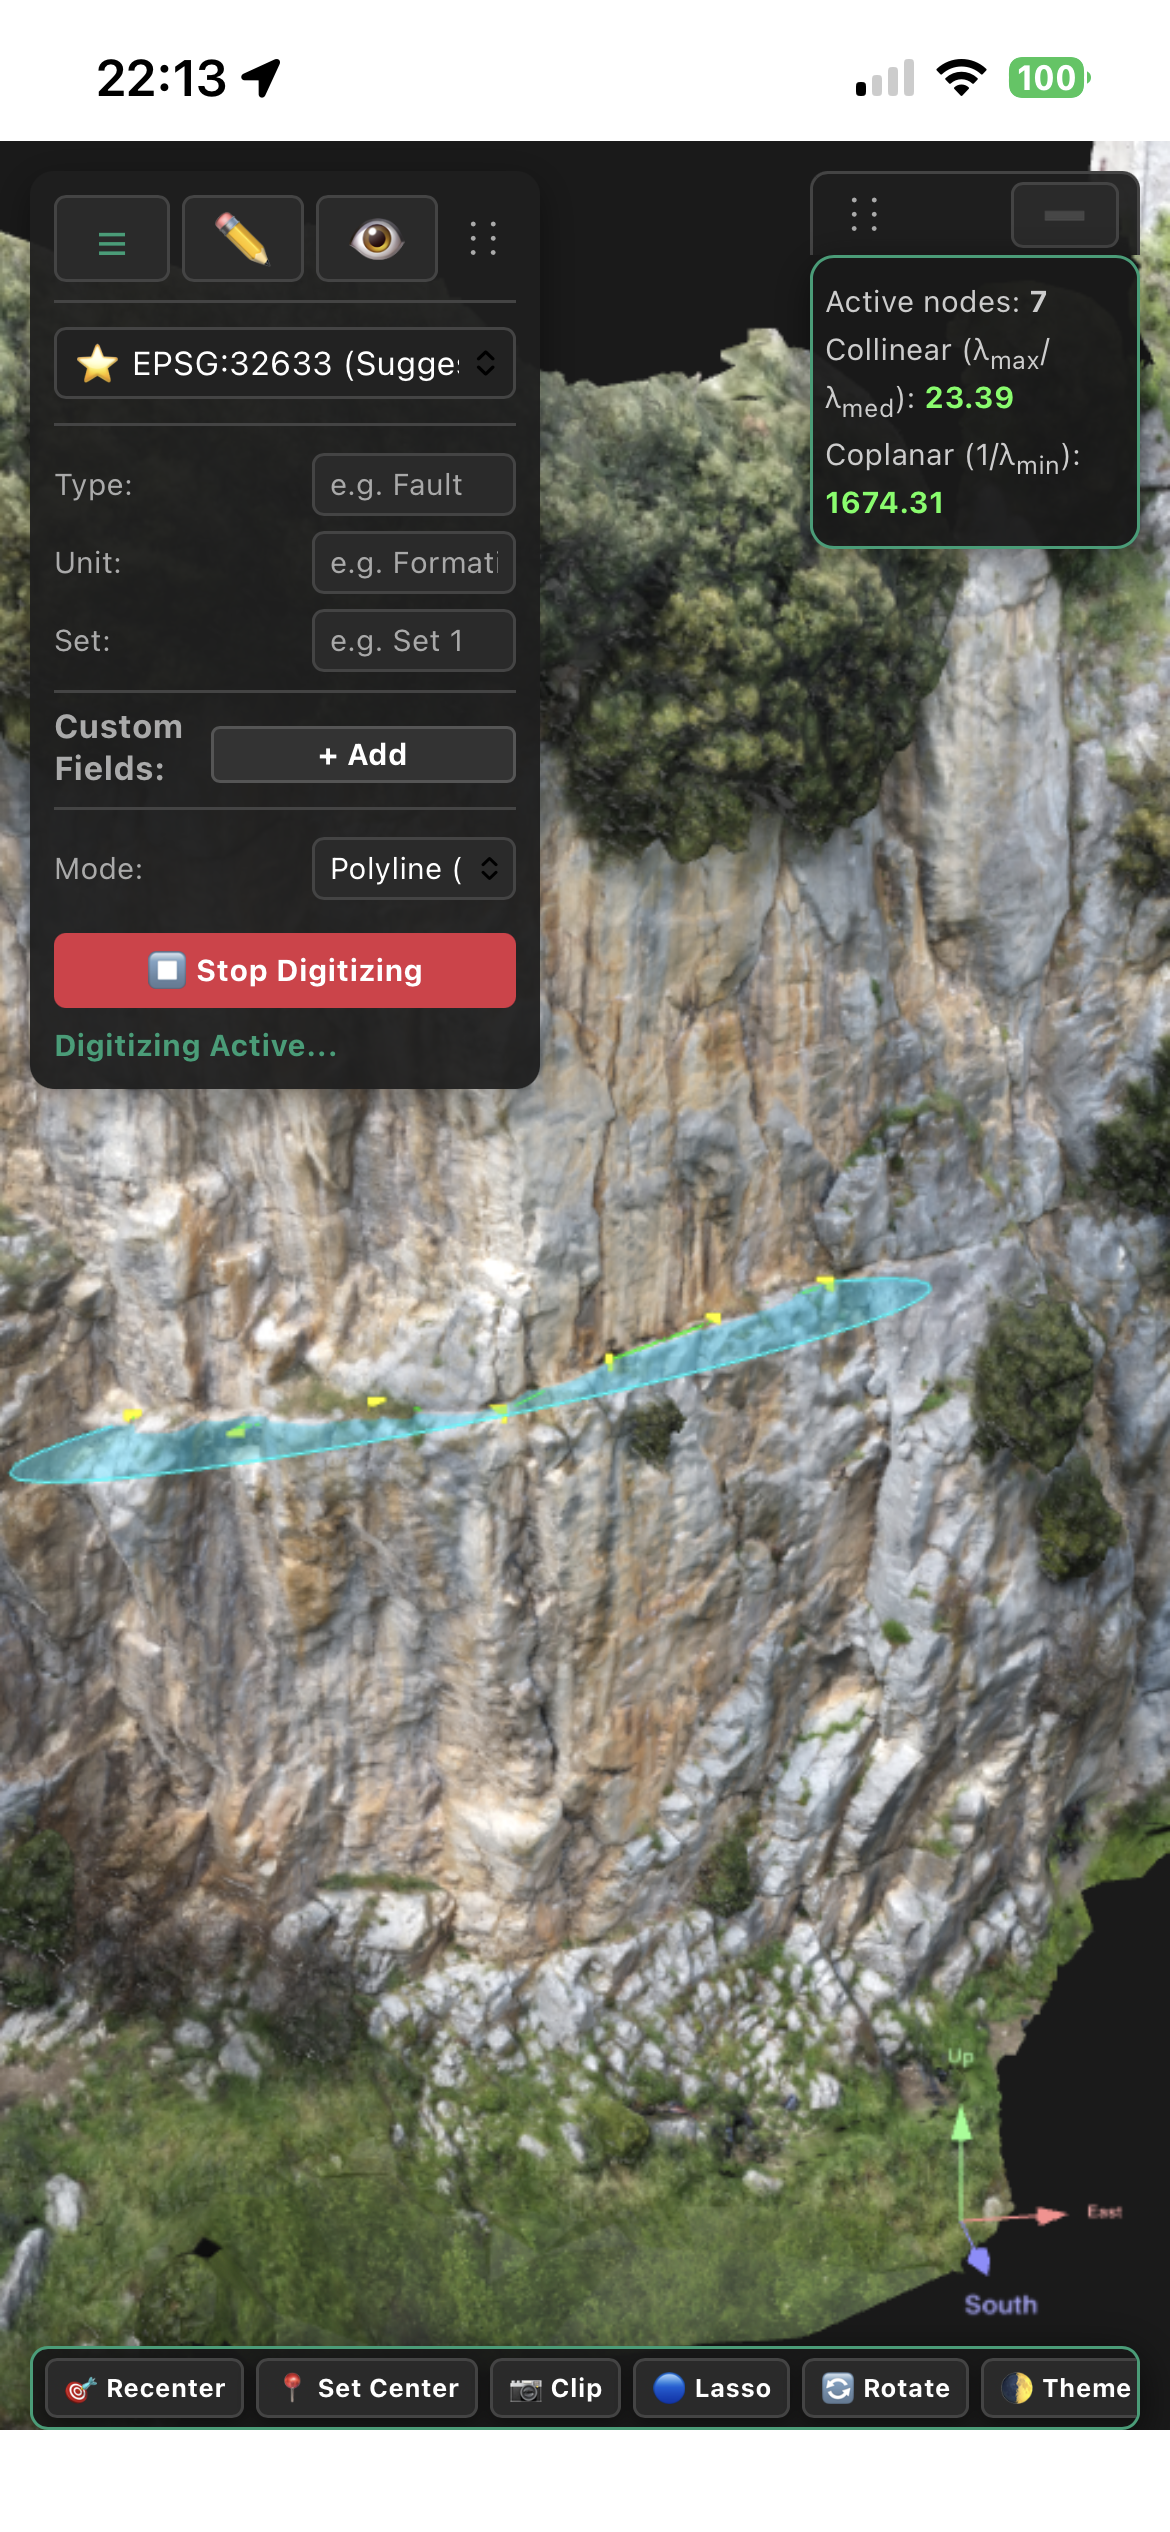
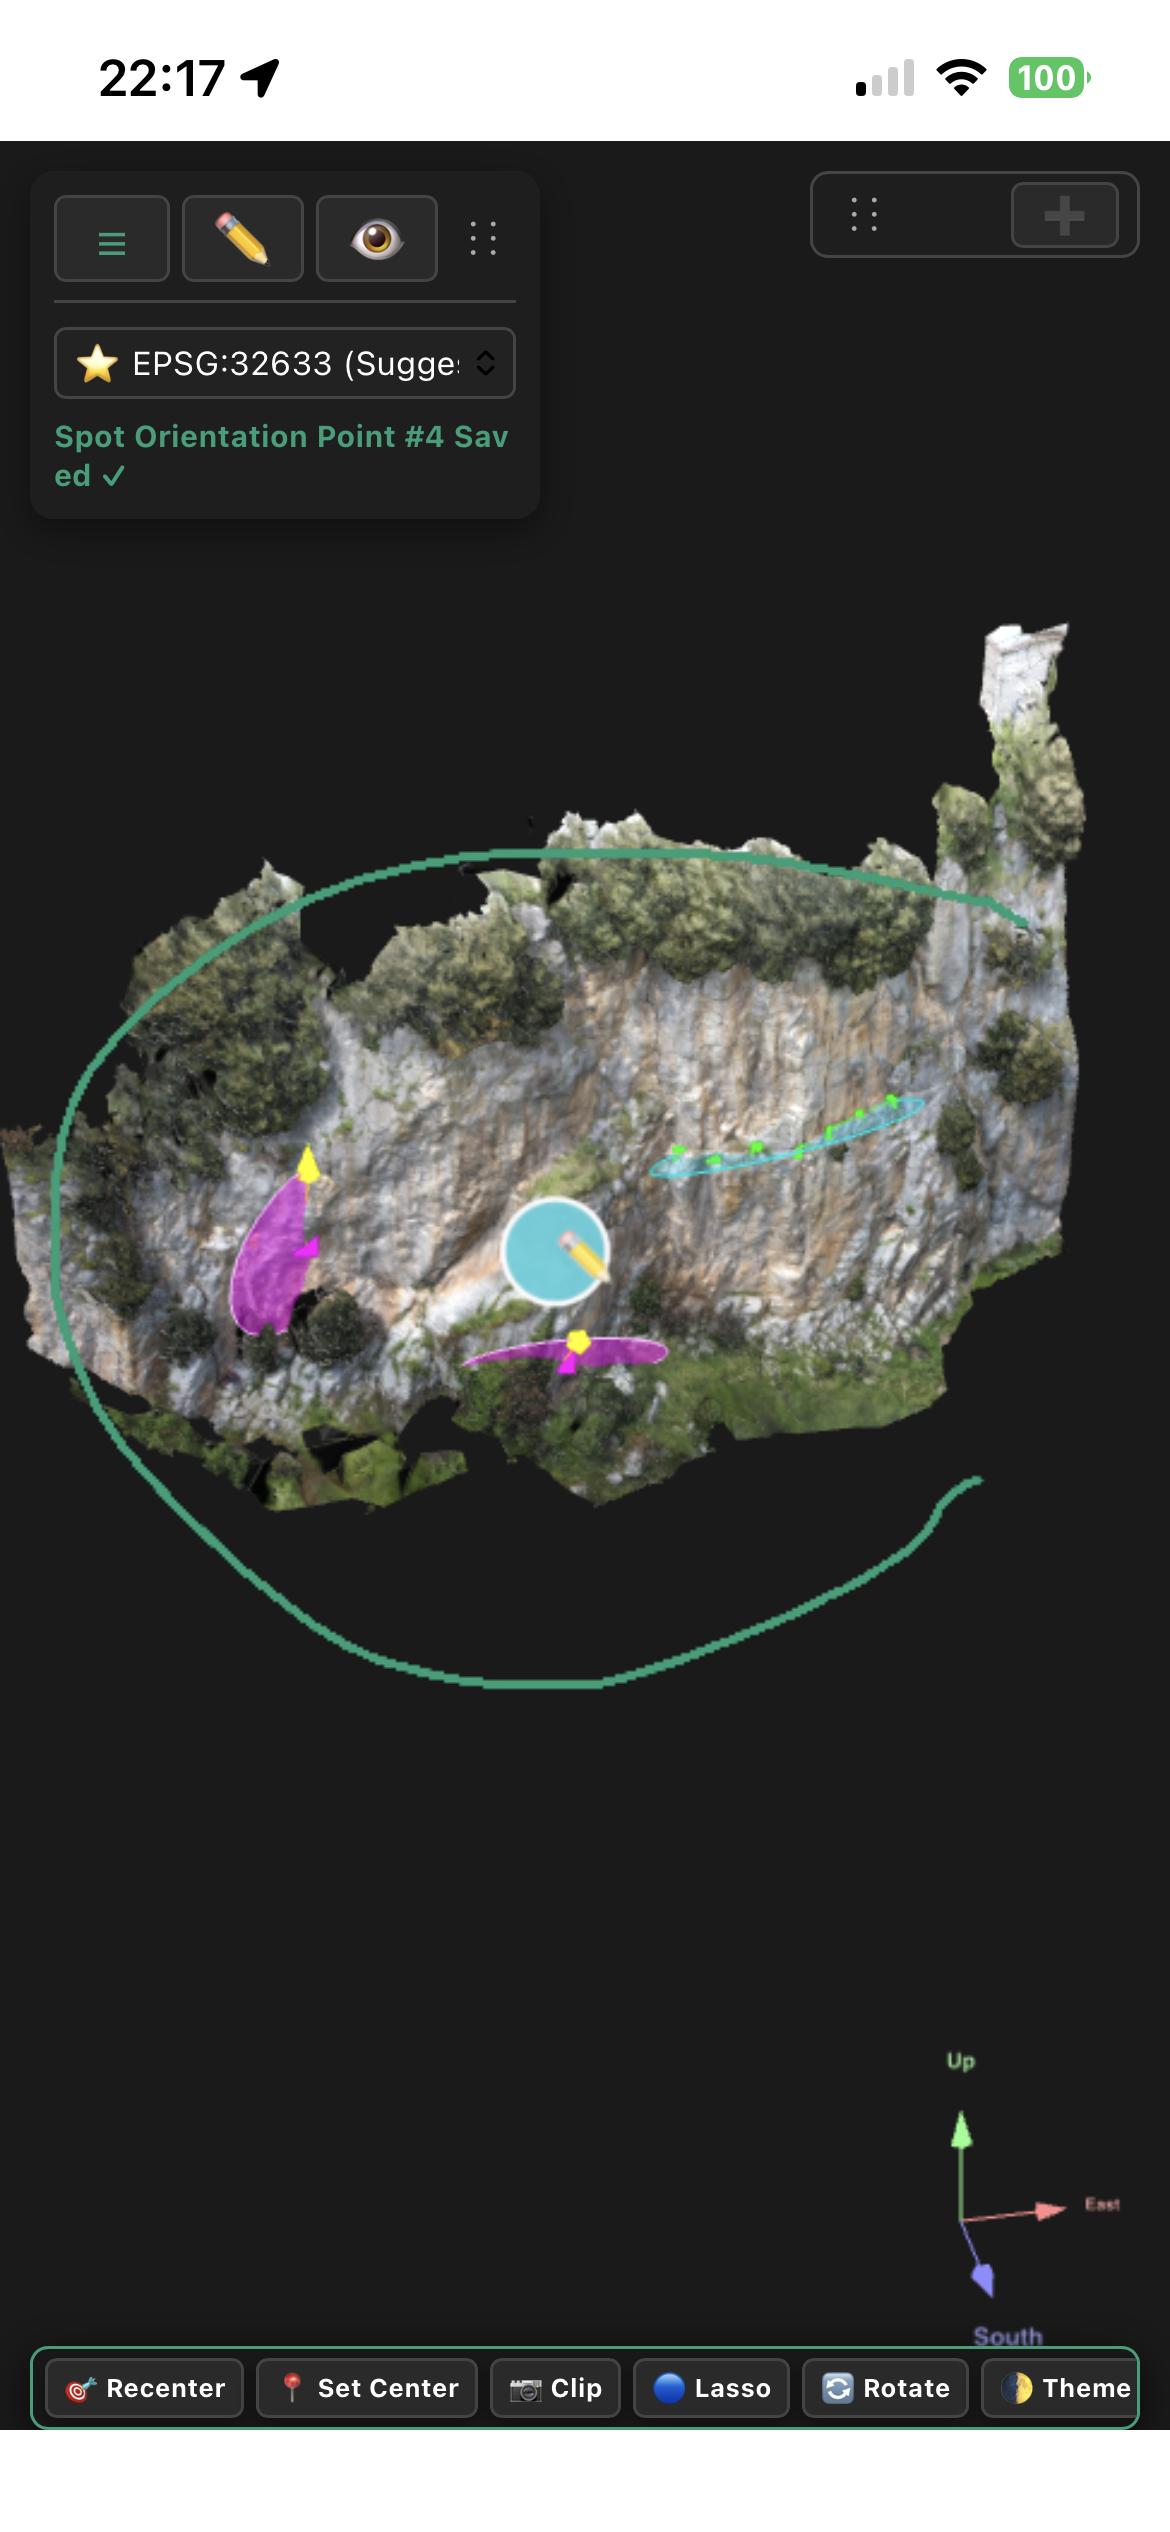
1. Main Toolbar (Top-Left)
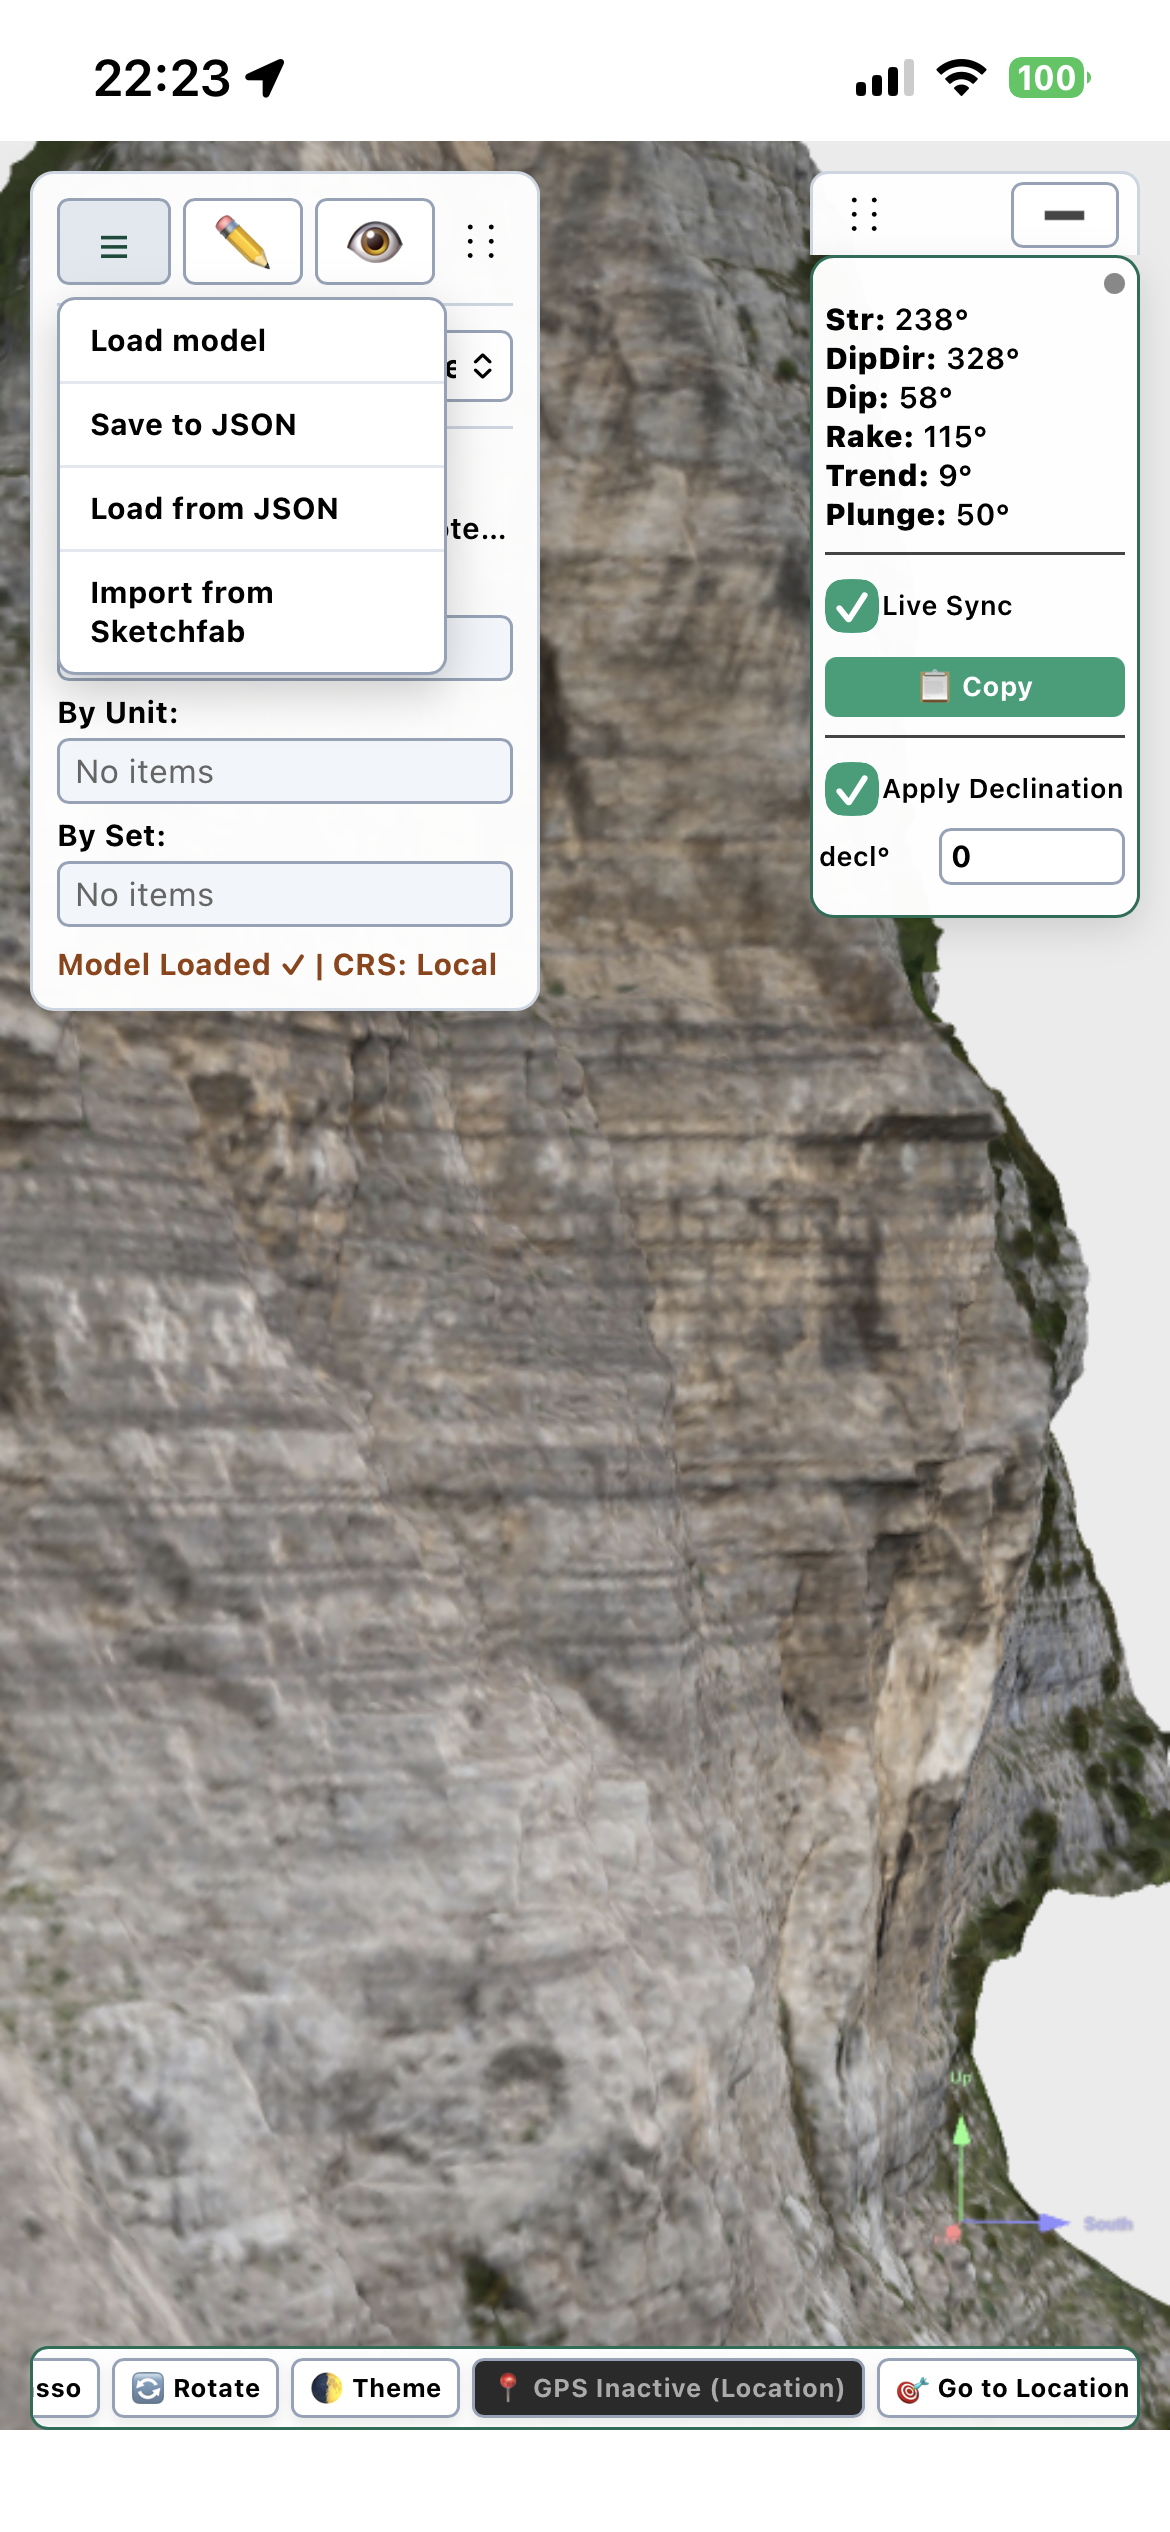
- ☰ Menu Button: Load models, load/save data in JSON format.
- ✏️ Pencil Icon: Shows/hides the toolbar with measurement and digitizing tools.
- 👁️ Eye Icon: Shows/hides the toolbar for filtering features based on various attributes.
2. Attributes & Custom Fields Panel (Left Side)
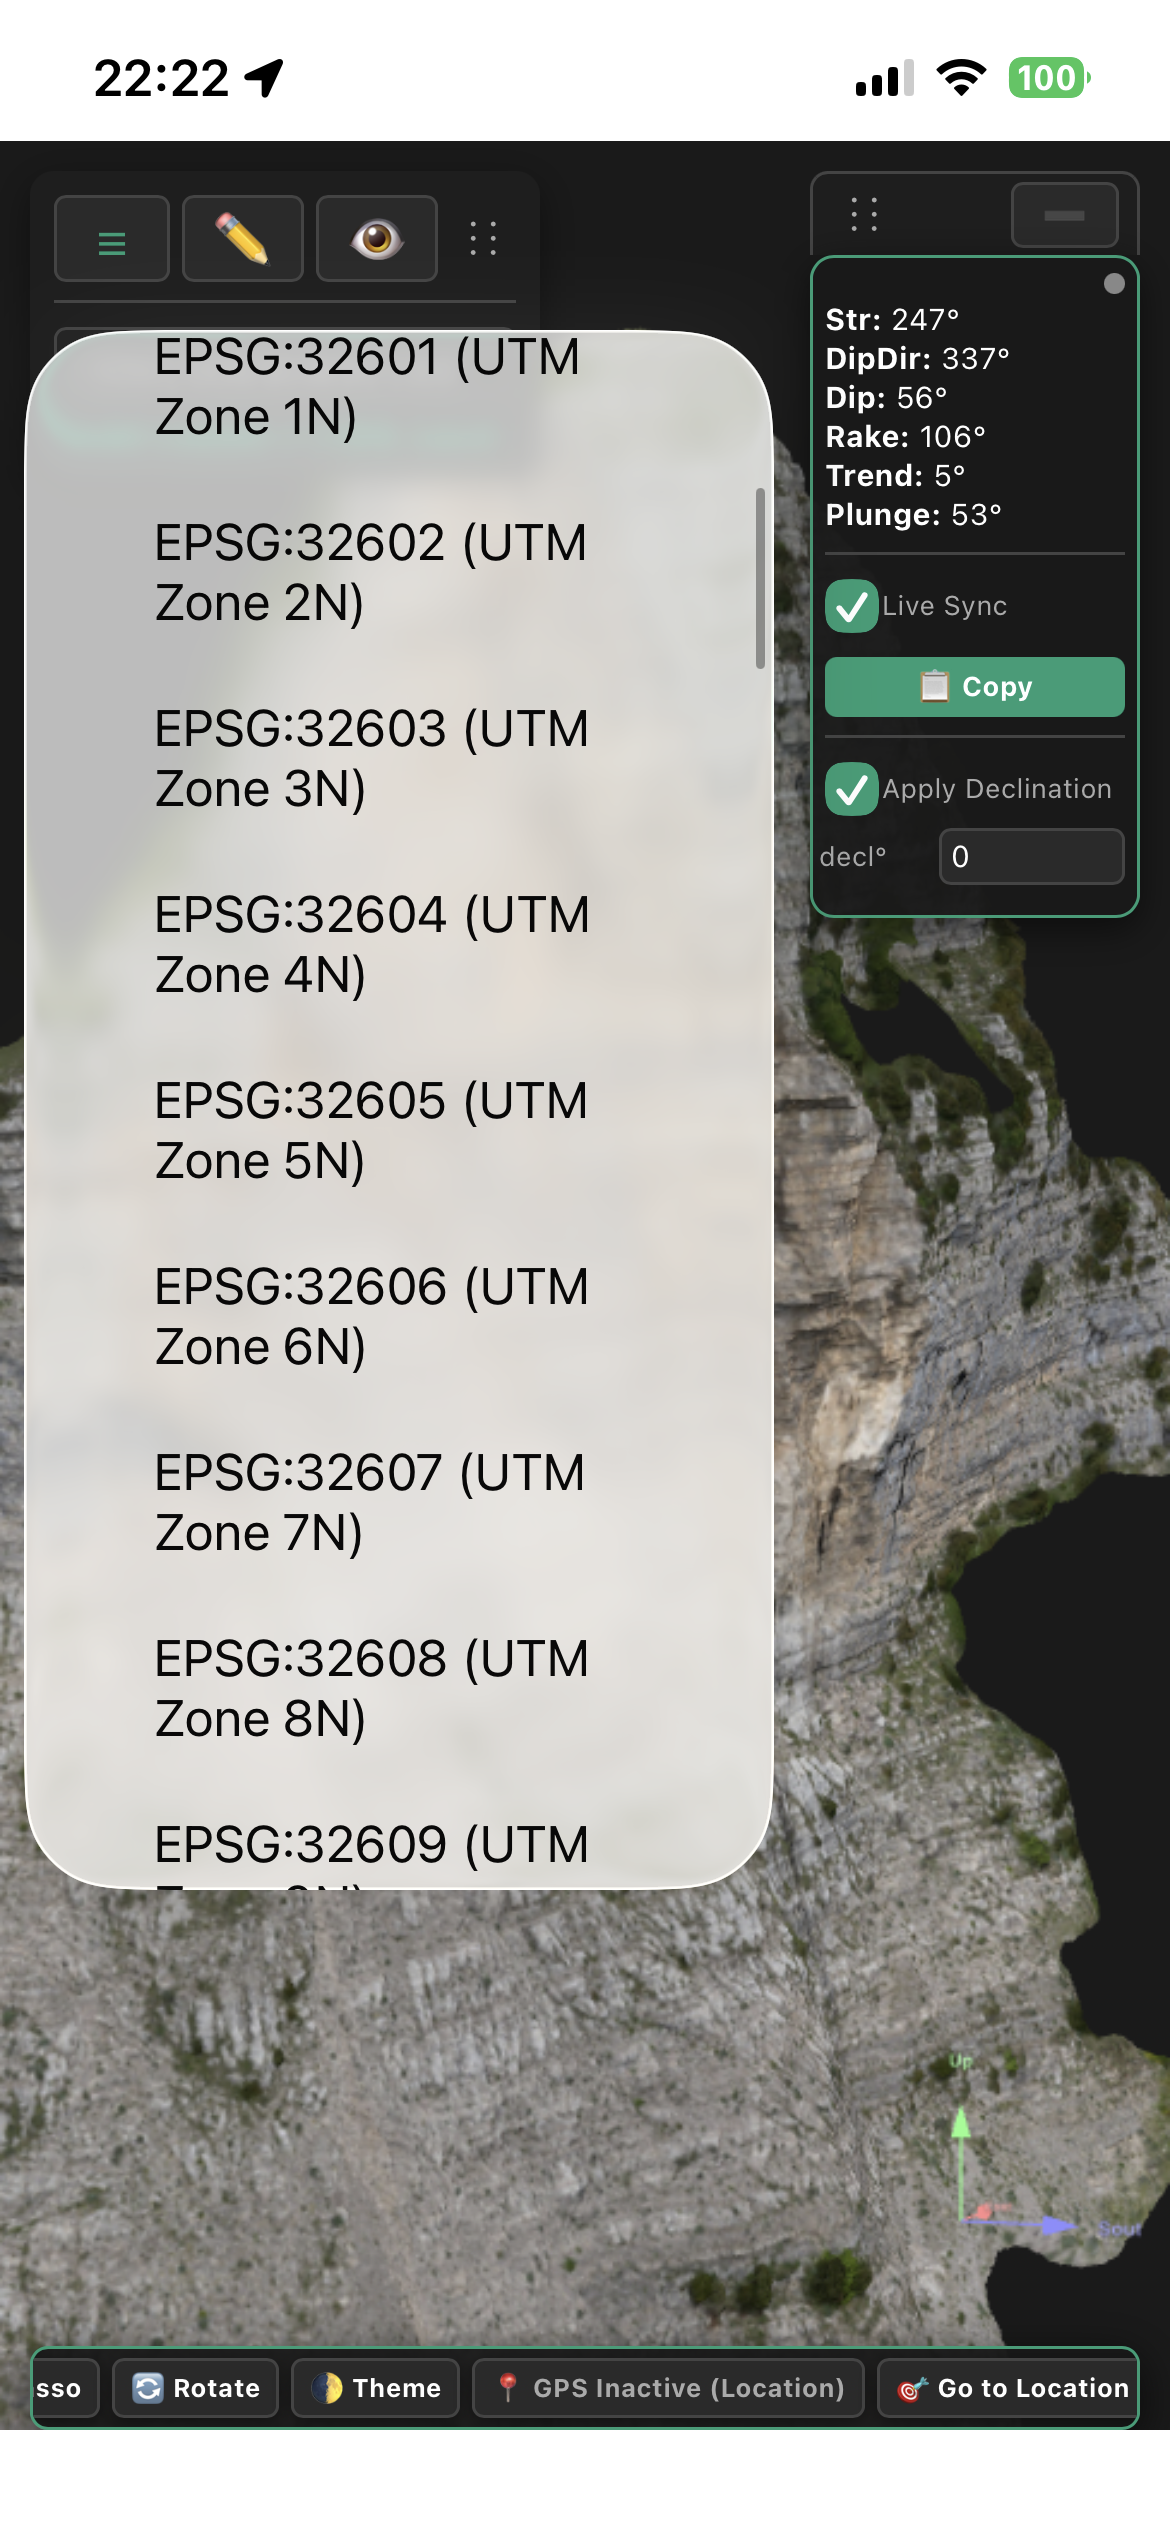
- CRS Dropdown: Used to define the Coordinate Reference System. Useful only if models are georeferenced and you wish to enable geolocation tracking.
- Type: Text field to specify the geological feature type (e.g.,
Fault,Joint,Bedding). - Unit: Text field to assign the stratigraphic or lithological unit (e.g.,
Formation A). - Set: Text field to group structures into specific sets (e.g.,
Set 1). - Custom Fields (+ Add): Allows adding customized attribute fields for flexible data collection, including enabling the tool for LiDAR distance measurements.
3. Geometry & Digitizing Controls (Left Side, Lower)
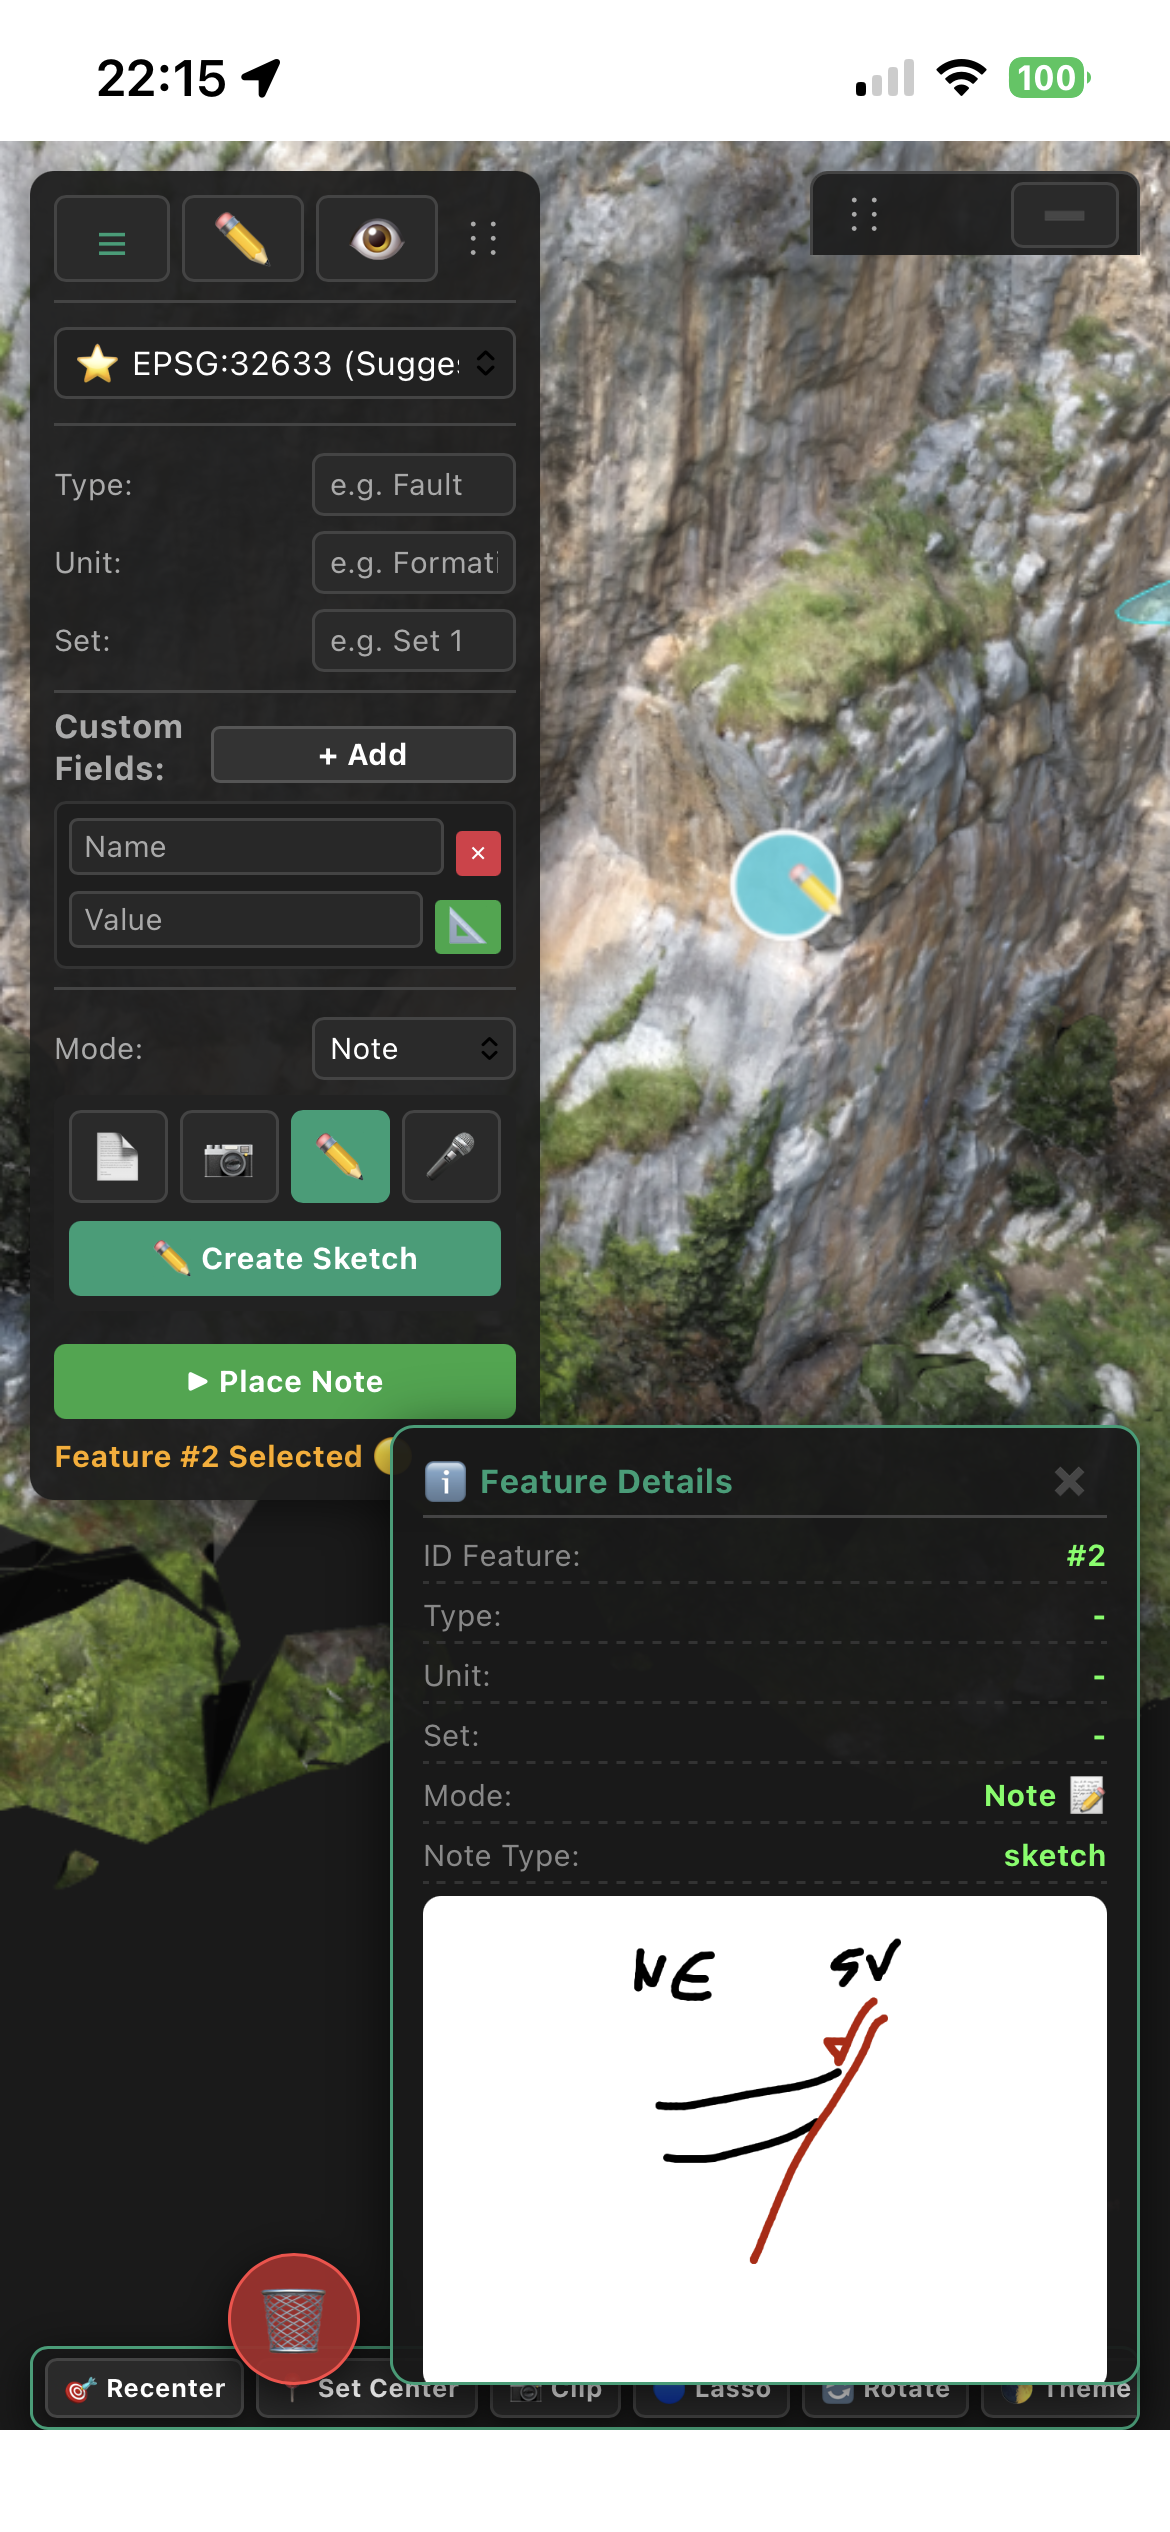
- Mode: Selects the input method (Points with best-fit plane; Polyline; manual spot with orientation data; Note).
- Geometry: Choose the feature geometry type (e.g.,
Plane,Line,Point). - Orientation Parameters: Input or display numerical values for
Strike,Dip Dir, andDip. - Radius (px): Adjusts the visual rendering size or radius of influence for the geometric feature.
- ▶ Start Digitizing: Activates active placement on the 3D model using the configured parameters.
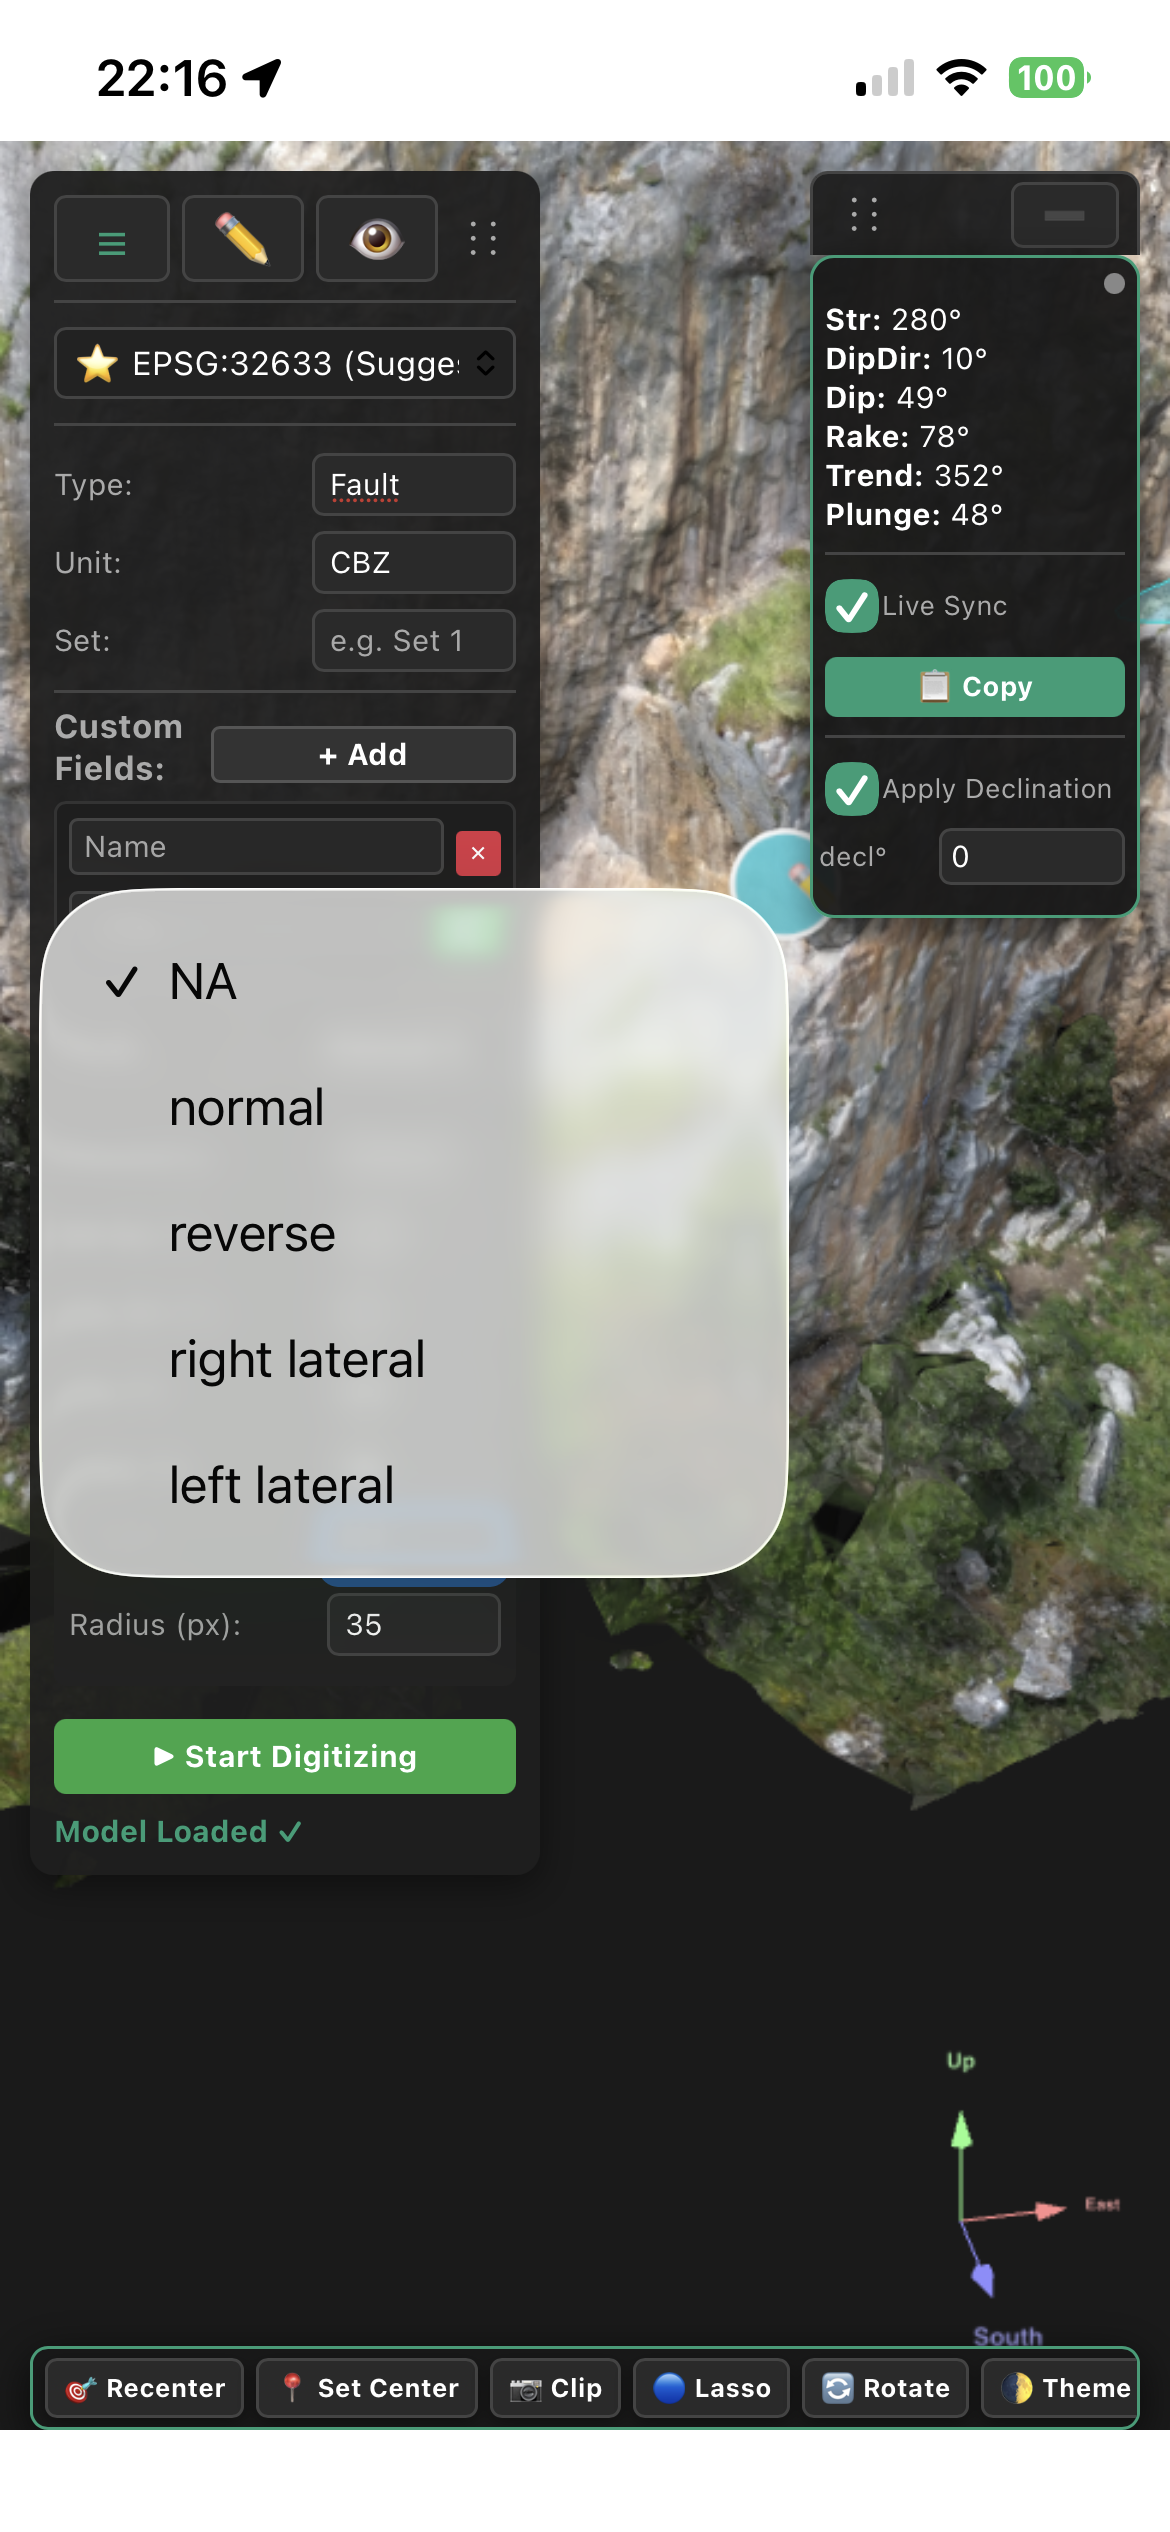
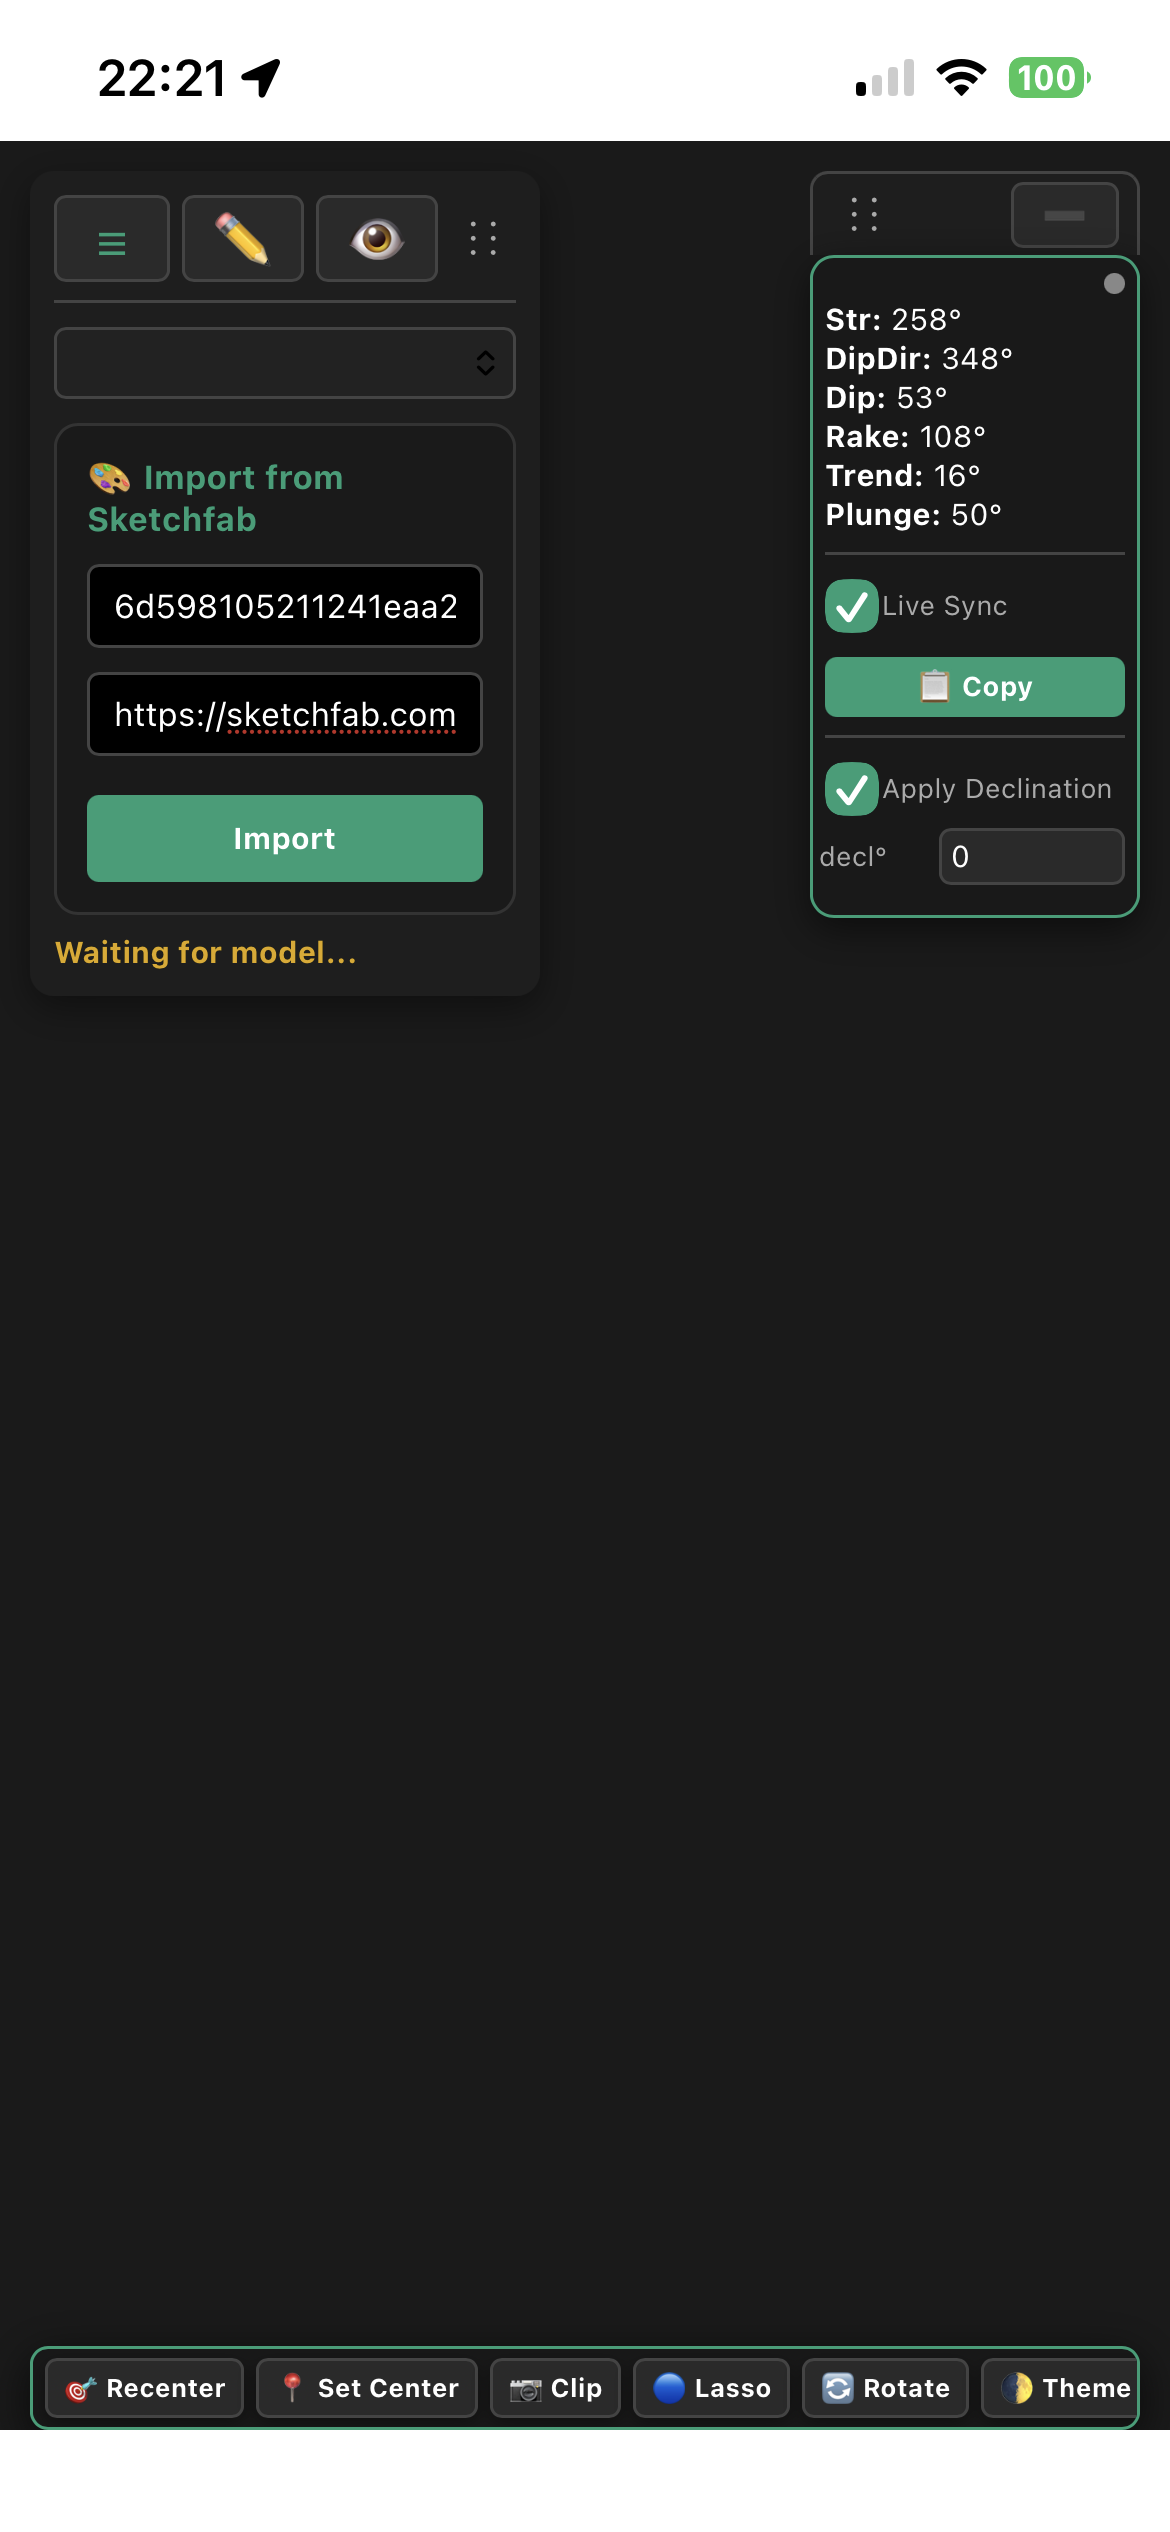
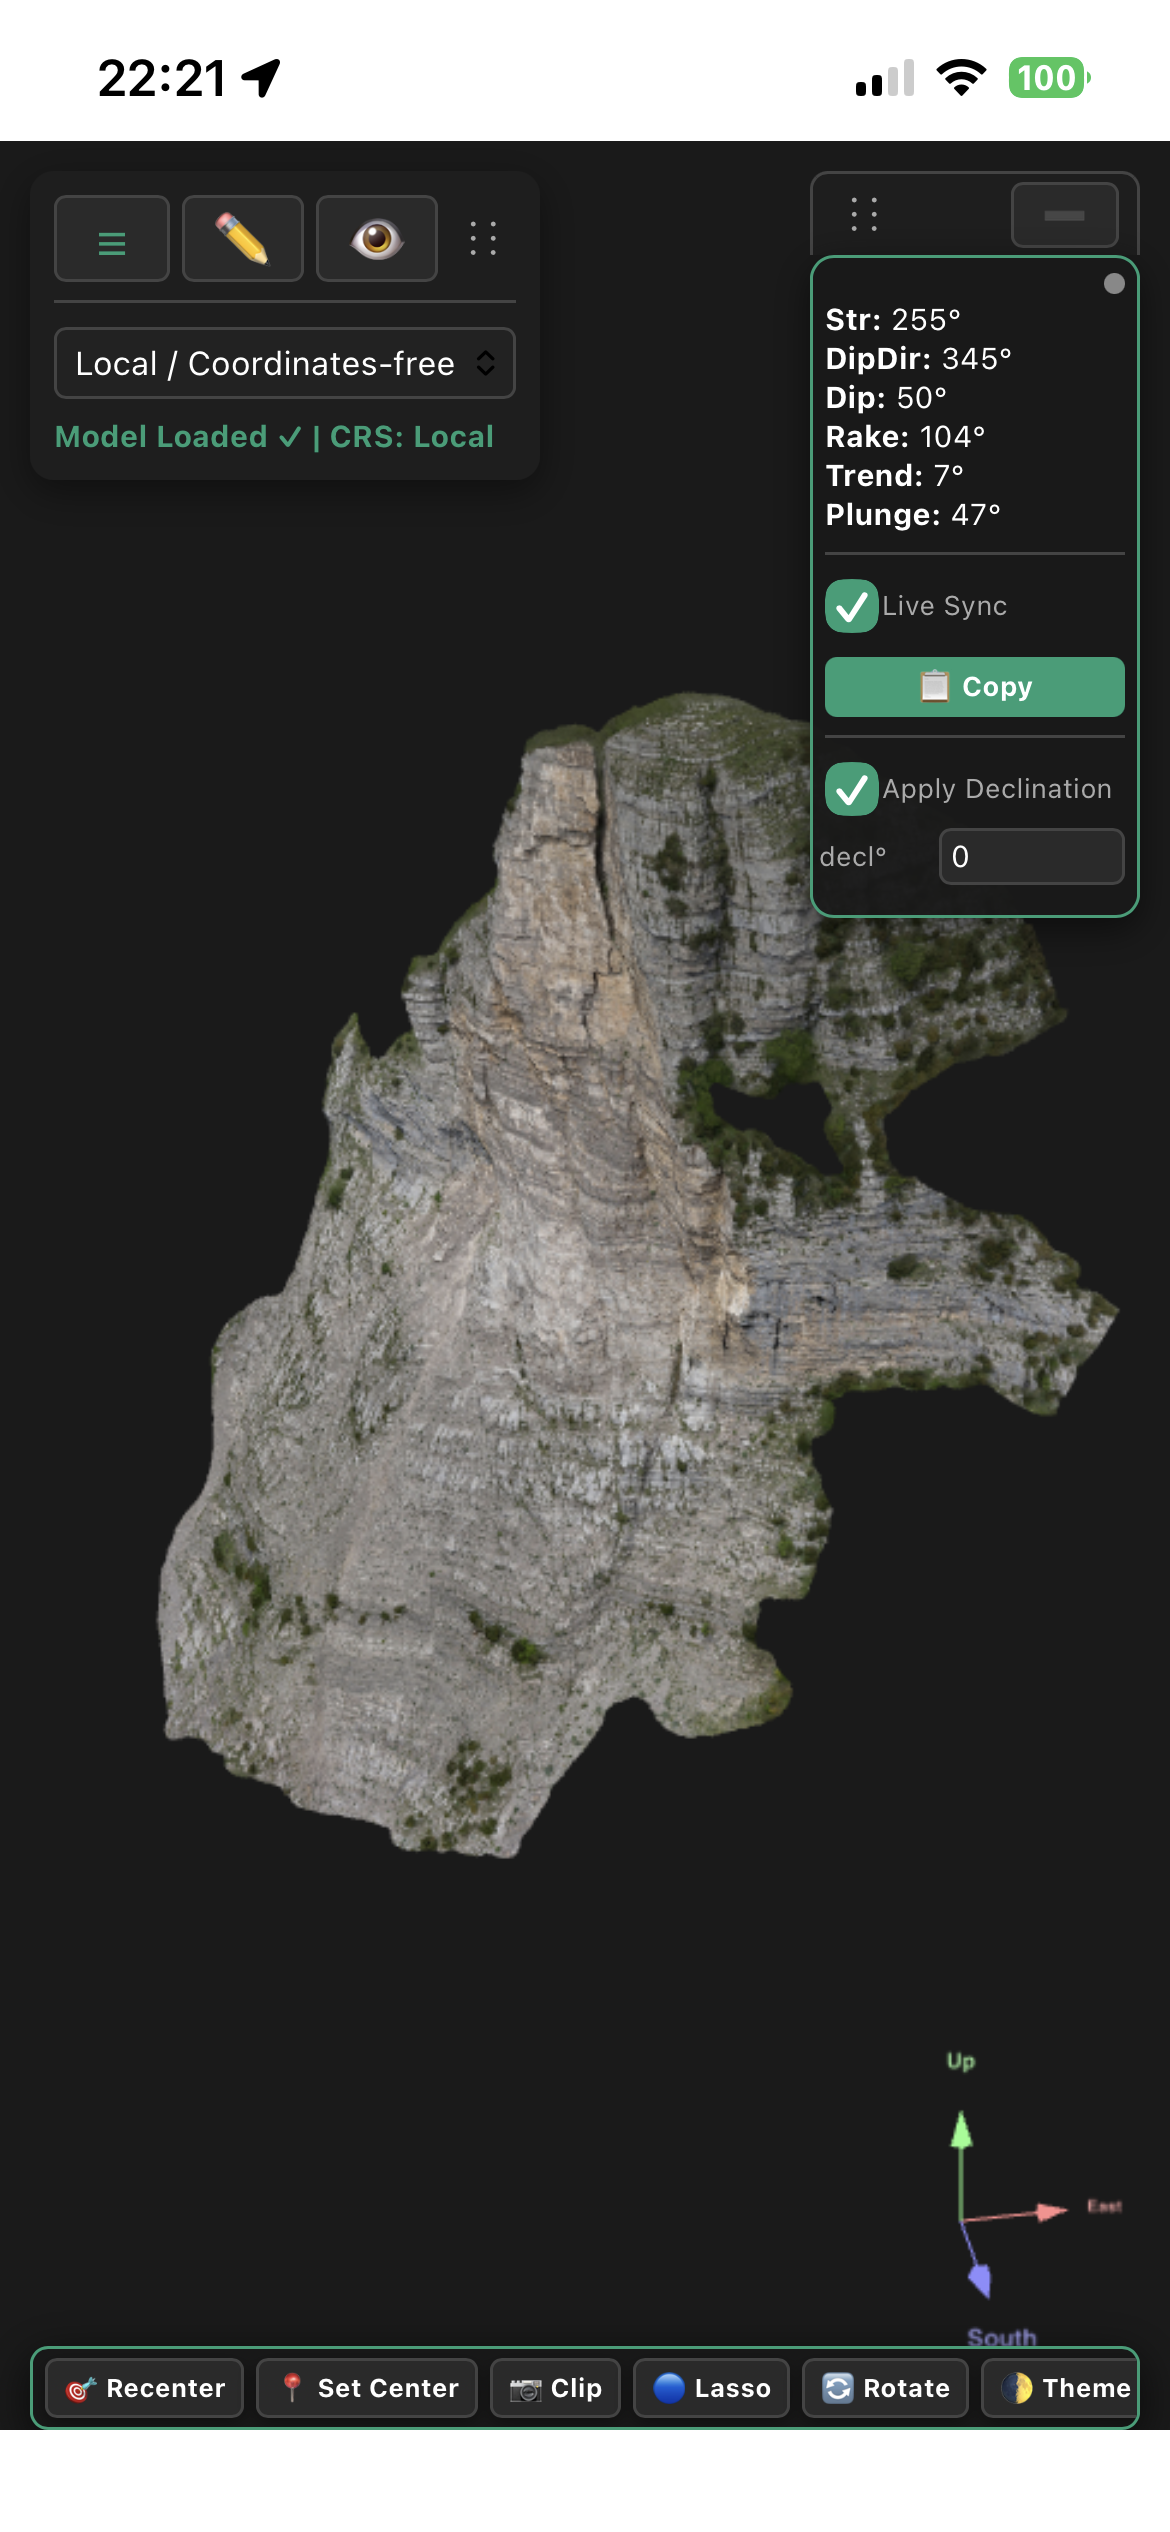
4. Real-time Sensor & Compass Panel (Top-Right)
- Sensor Readings: Displays live orientation parameters (
Str,DipDir,Dip,Rake,Trend,Plunge) using device sensors. - Live Sync: Dynamically synchronizes active digitizing parameters with hardware compass sensors in real time.
- Apply Declination: Automatically applies magnetic declination corrections (set in
decl°) to align readings with True North.
5. Bottom Navigation & Location Toolbar
- 🎯 Recenter: Resets the camera view to the default view or center of the 3D model.
- 📍 Set Center: Allows picking a point on the model to set a new orbital rotation center.
- 📸 Clip: Toggles clipping planes to create cross-sections through the 3D terrain or model.
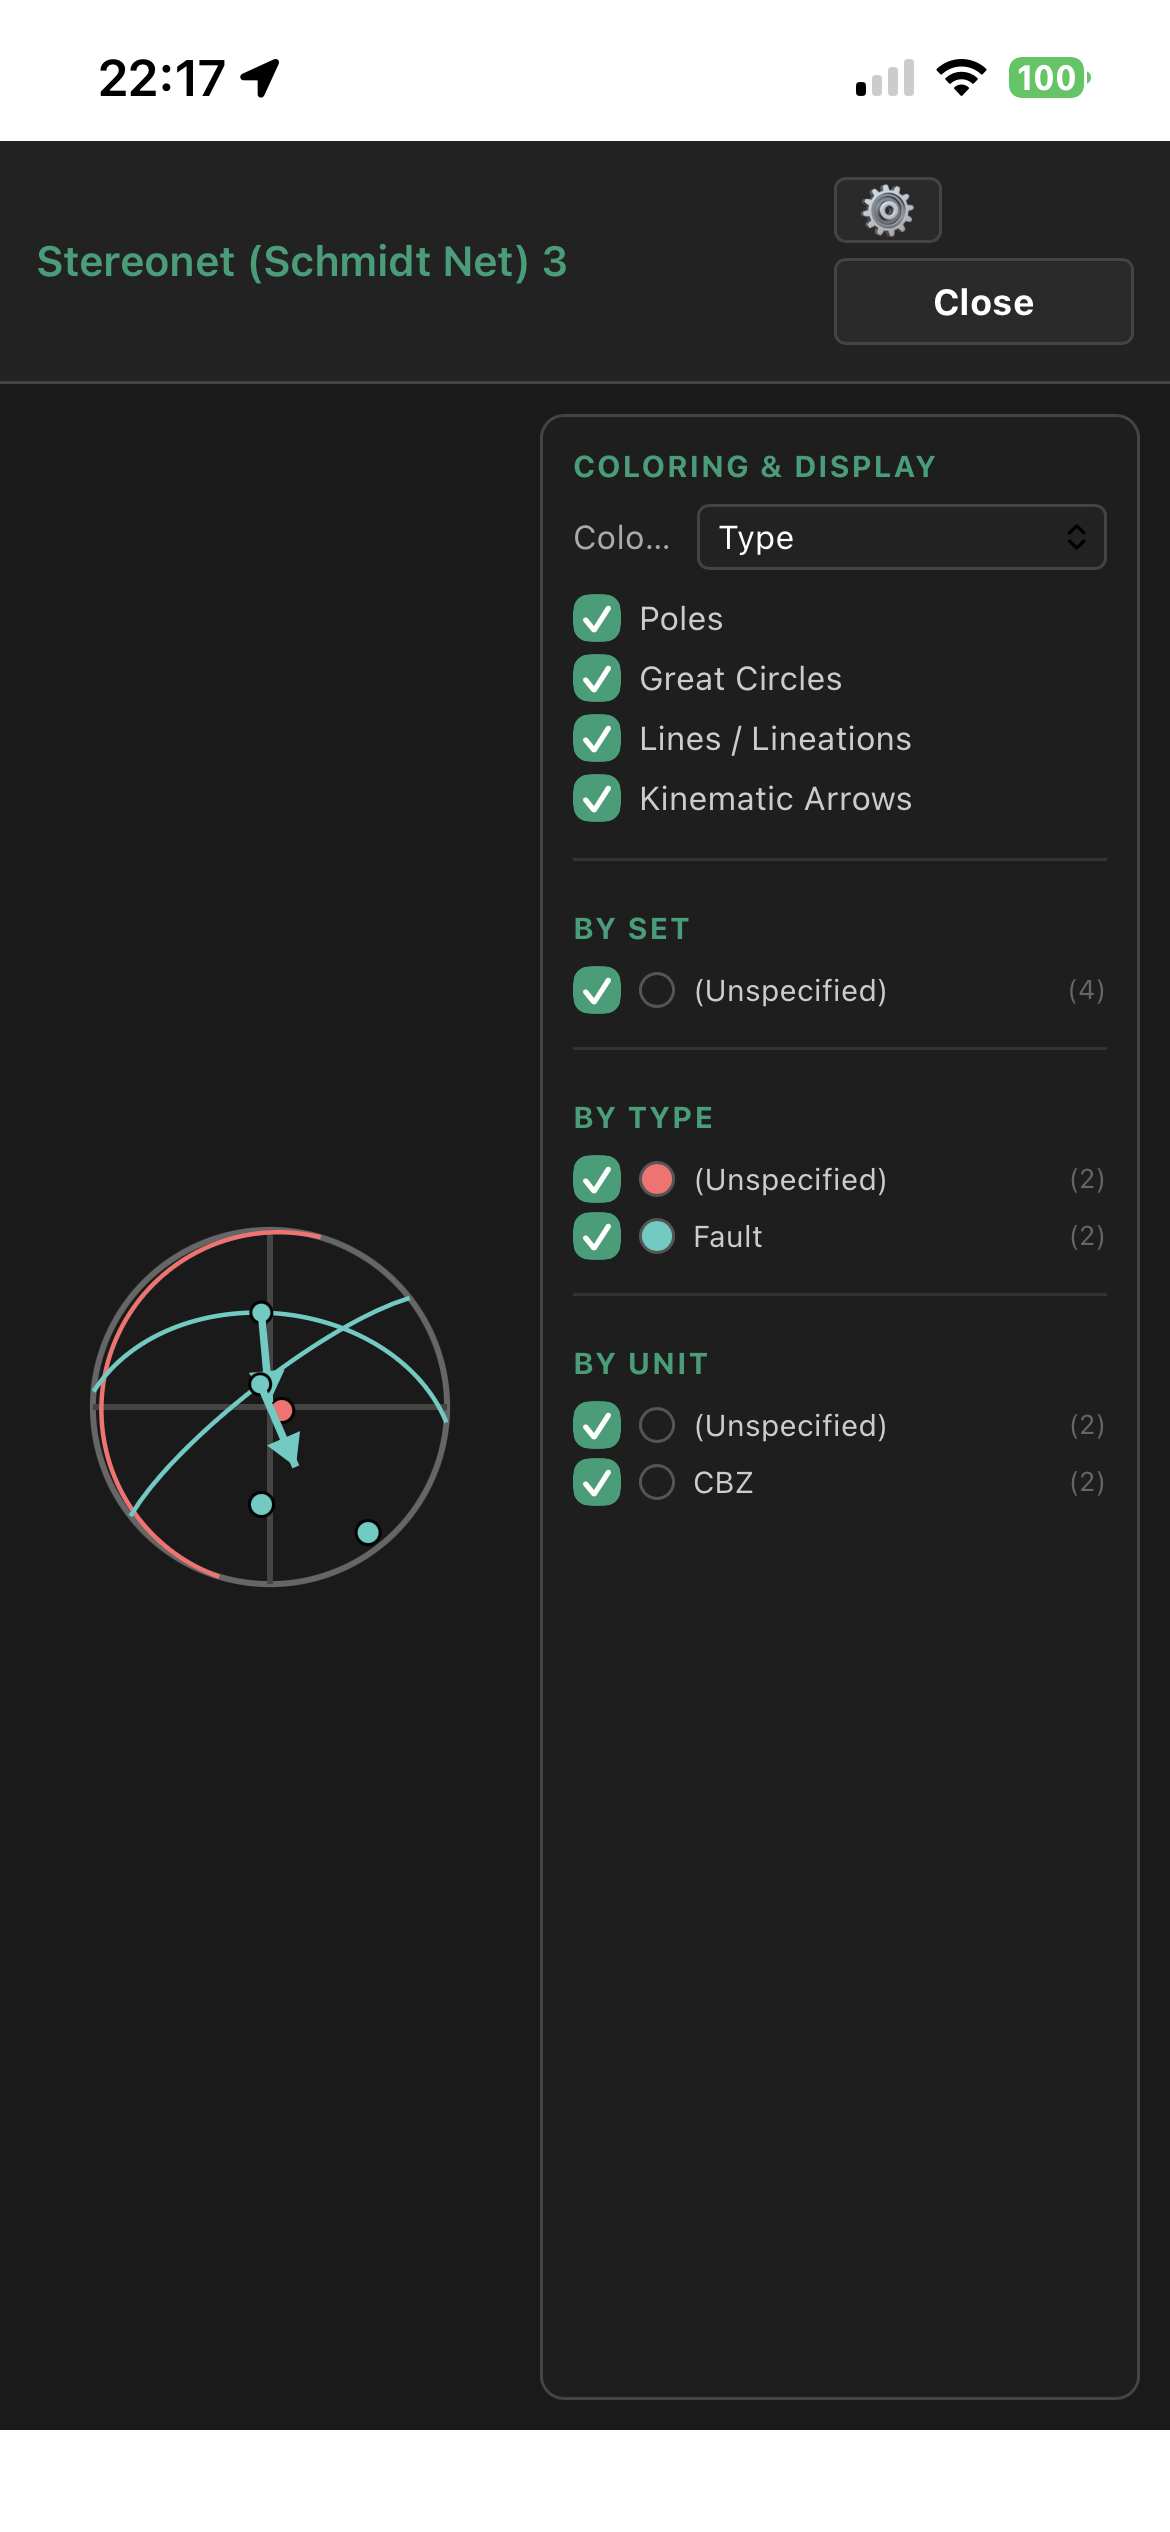
- 🔵 Lasso: Activates a freehand lasso tool to select data for stereoplot.
- 🔄 Rotate: Rotate the loaded model around a vertical axis.
- 🌓 Theme: Toggles between Dark and Light user interface themes.
- 📍 GNSS Inactive (Location): Indicates current GNSS/GPS tracking status and allows enabling real-time device geolocation.
- 🎯 Go to Location: Centers the 3D camera directly on the user's current GNSS/GPS position on the model or map.
Preparing 3D Models & Managing Data
📦 Supported 3D Model Formats
Field3Dnotes supports loading 3D models in the following file formats:
.objand.glb/.gltf: Used for textured 3D models. When importing OBJ or GLB files, make sure to select all associated files simultaneously, including texture files and.mtlmaterials..ply: Used for point cloud datasets..3tz: 3D Tiles archives (strongly recommended for large or georeferenced models).
Vertical Axis Alignment (Y vs Z): When opening .glb, .obj, or .ply files, a prompt will ask whether the vertical axis of your model is set to Z or Y (as many mobile 3D scanning apps export models using Y as the vertical axis).
☁️ Importing Models from Sketchfab
You can import 3D models directly from Sketchfab into Field3Dnotes by following these steps:
- Retrieve API Key: Create or log in to your account on Sketchfab.com. Go to your Account Settings, navigate to the Password & API section, and copy your personal API Key.
- Configure API Key: In Field3Dnotes, select the Sketchfab import option and paste your API Key into the designated input field.
- Import Model URL: Copy the web address (URL) of any downloadable 3D model on Sketchfab and paste it into the app's URL prompt.
- Set Upward Axis: During the import process, you will be prompted to specify which coordinate axis (Y or Z) represents the upward direction for the model.
⚠️ Note on Sketchfab Models Alignment
Models hosted on Sketchfab are generally not georeferenced. Additionally, they may occasionally be uploaded with arbitrary spatial positions or unusual rotations. As a result, models might not align with standard coordinates or may initially appear out of the default camera view.
💾 Saving & Importing Data
Field3Dnotes handles project data and media through JSON files:
- File Storage Location: Data files are saved automatically in the app folder on iOS devices (iPhone/iPad) or sent to the default Downloads folder when using a PC.
- Scene Reset on Model Load: Loading a new model clears everything currently present in the active scene (including both the model and active data). Be sure to save your data beforehand!
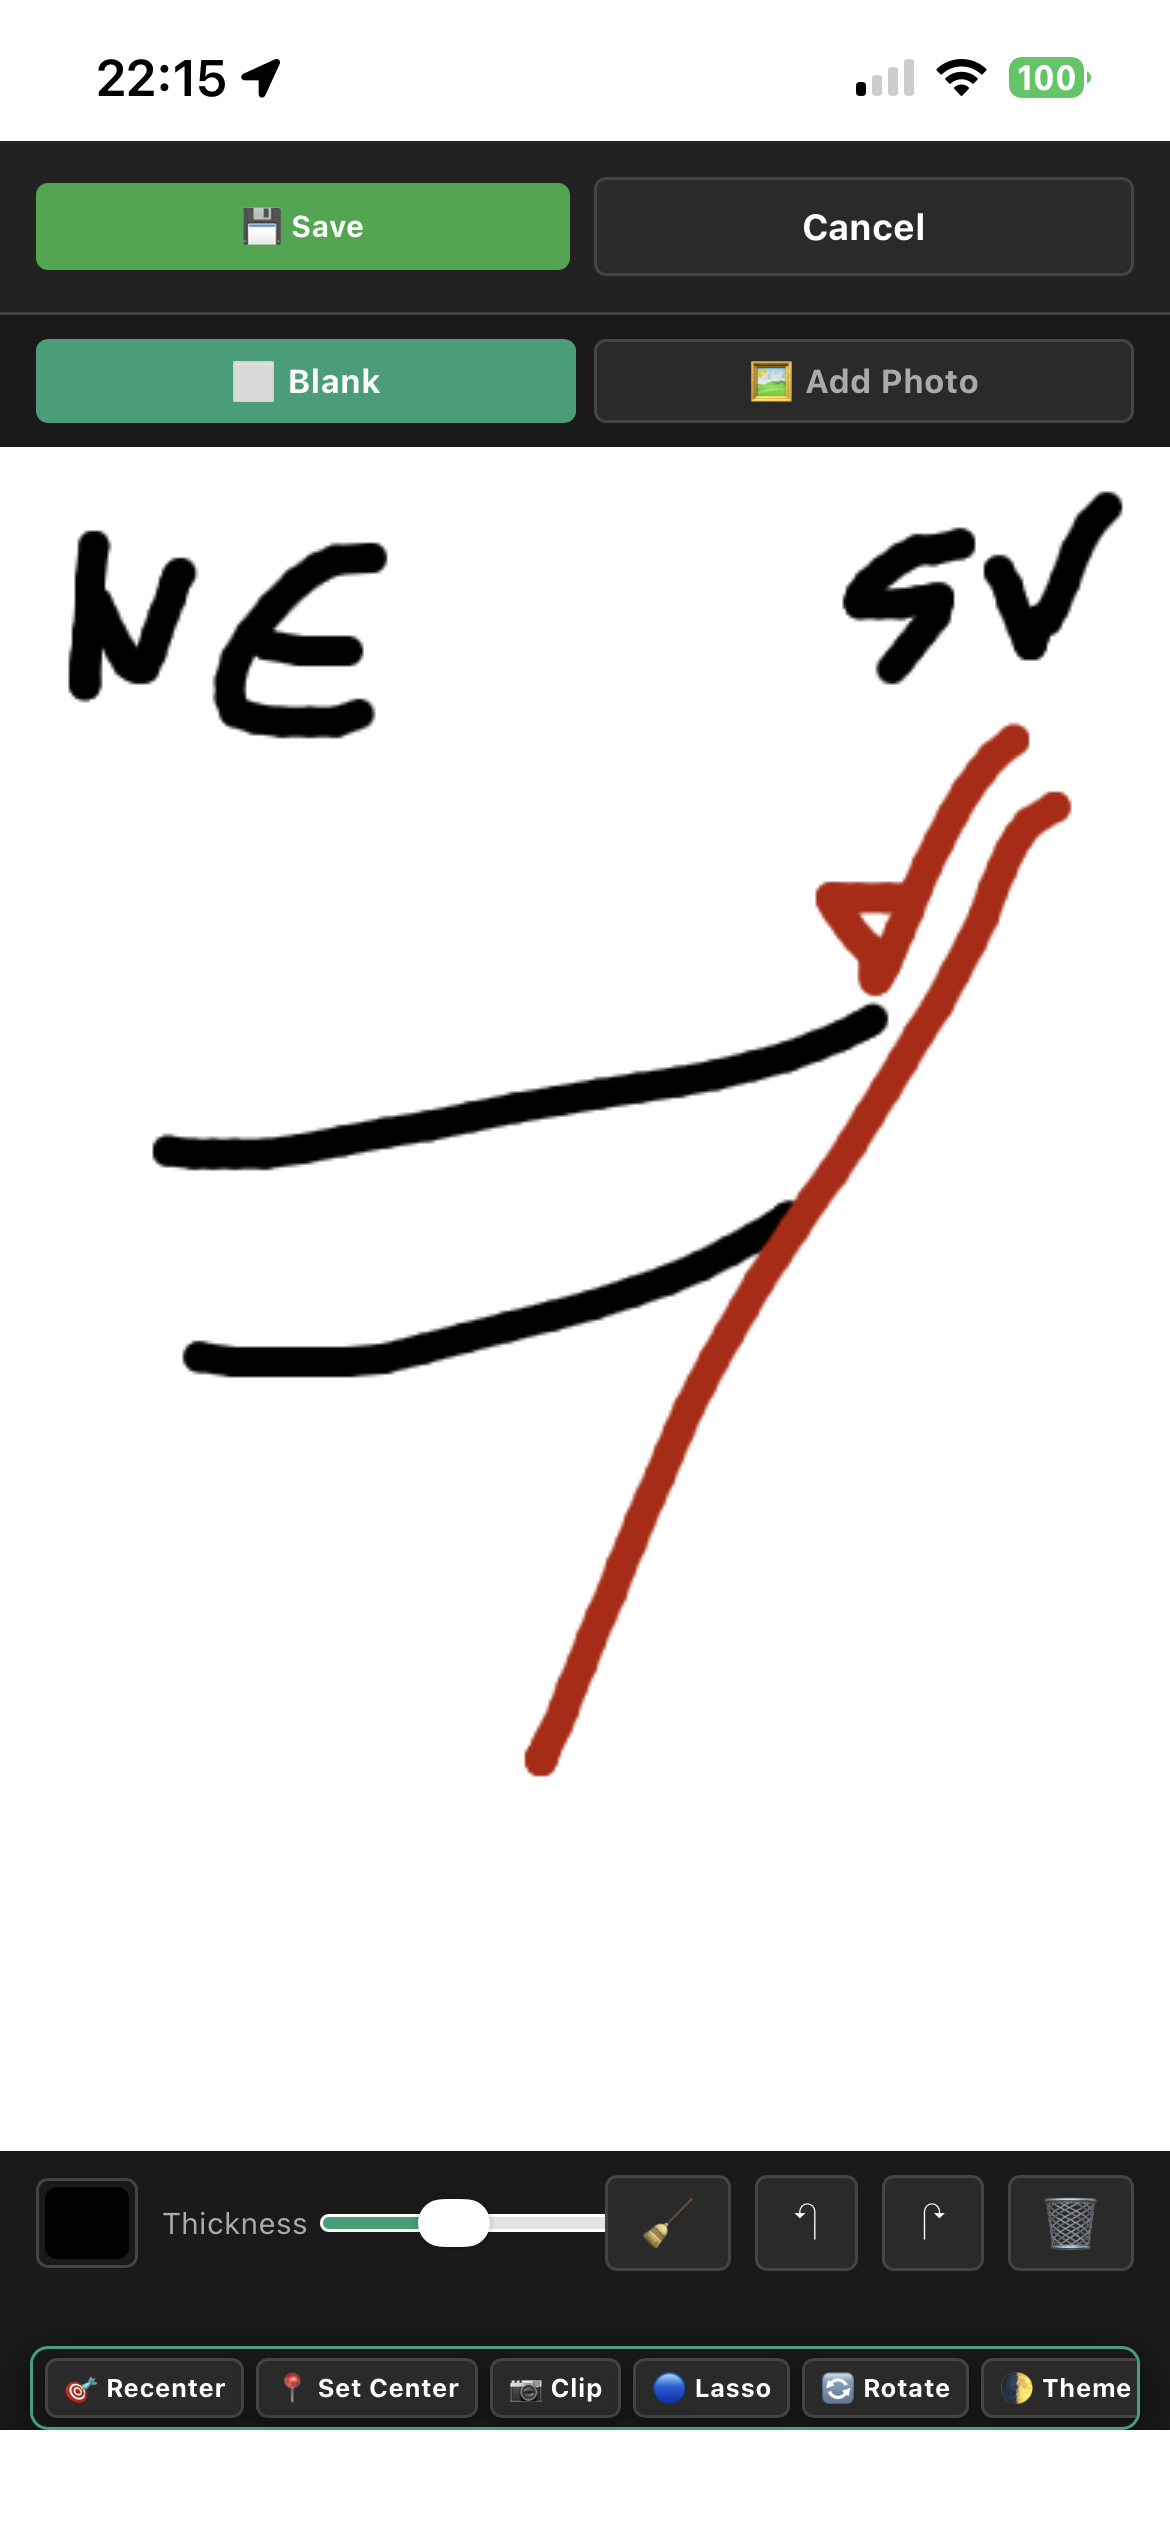
- Embedded Binary Media: All associated photos, text notes, audio notes, and sketches are saved directly as embedded binary data inside the output
.jsonfiles, creating a fully self-contained project file.
🌐 Local Reference vs. Georeferenced Models
Models can be used either in local coordinates or fully georeferenced:
- Avoid PLY and GLB for Georeferenced Datasets: Using
.ply,.glb, or.gltffor georeferenced models is strongly discouraged. Large X/Y coordinates cause floating-point discretization issues, generating visible striping/banding artifacts across the model. - Using 3TZ Files:
.3tzfiles are vastly superior for georeferenced models. When exporting to 3TZ (e.g., in Agisoft Metashape), set the coordinate system to Local Coordinate System in settings and export using metric units.
⚠️ Important Notice: Using 3TZ Files Offline
Loading .3tz tiles requires an external library cached inside the app.
Field Protocol: You cannot load .3tz files if you turn off your device and power it back on in an area without internet coverage. The app must be launched at least once while connected to the internet. After this initial load, it can be used offline for days without issues, provided the device (iPhone/iPad) is not powered off in the meantime.
Screenshots Gallery